
In the ever-evolving world of social media, staying ahead with engaging content is crucial for growing your audience. Instagram Reels has emerged as a powerful tool to capture the attention of viewers. However, consistently posting can be a challenge. Luckily, using tools like Planable.io, scheduling Instagram Reels becomes straightforward and organized. This step-by-step guide will show you how to schedule Reels on Instagram using Planable.io, an excellent Instagram Reels scheduler.
How to Schedule Reels on Instagram: How to Steps
- Sign Up and Log In

Go to Planable.io and create an account if you don’t already have one. Once your account is set up, log in with your credentials to access the dashboard.
- Connect Your Instagram Account
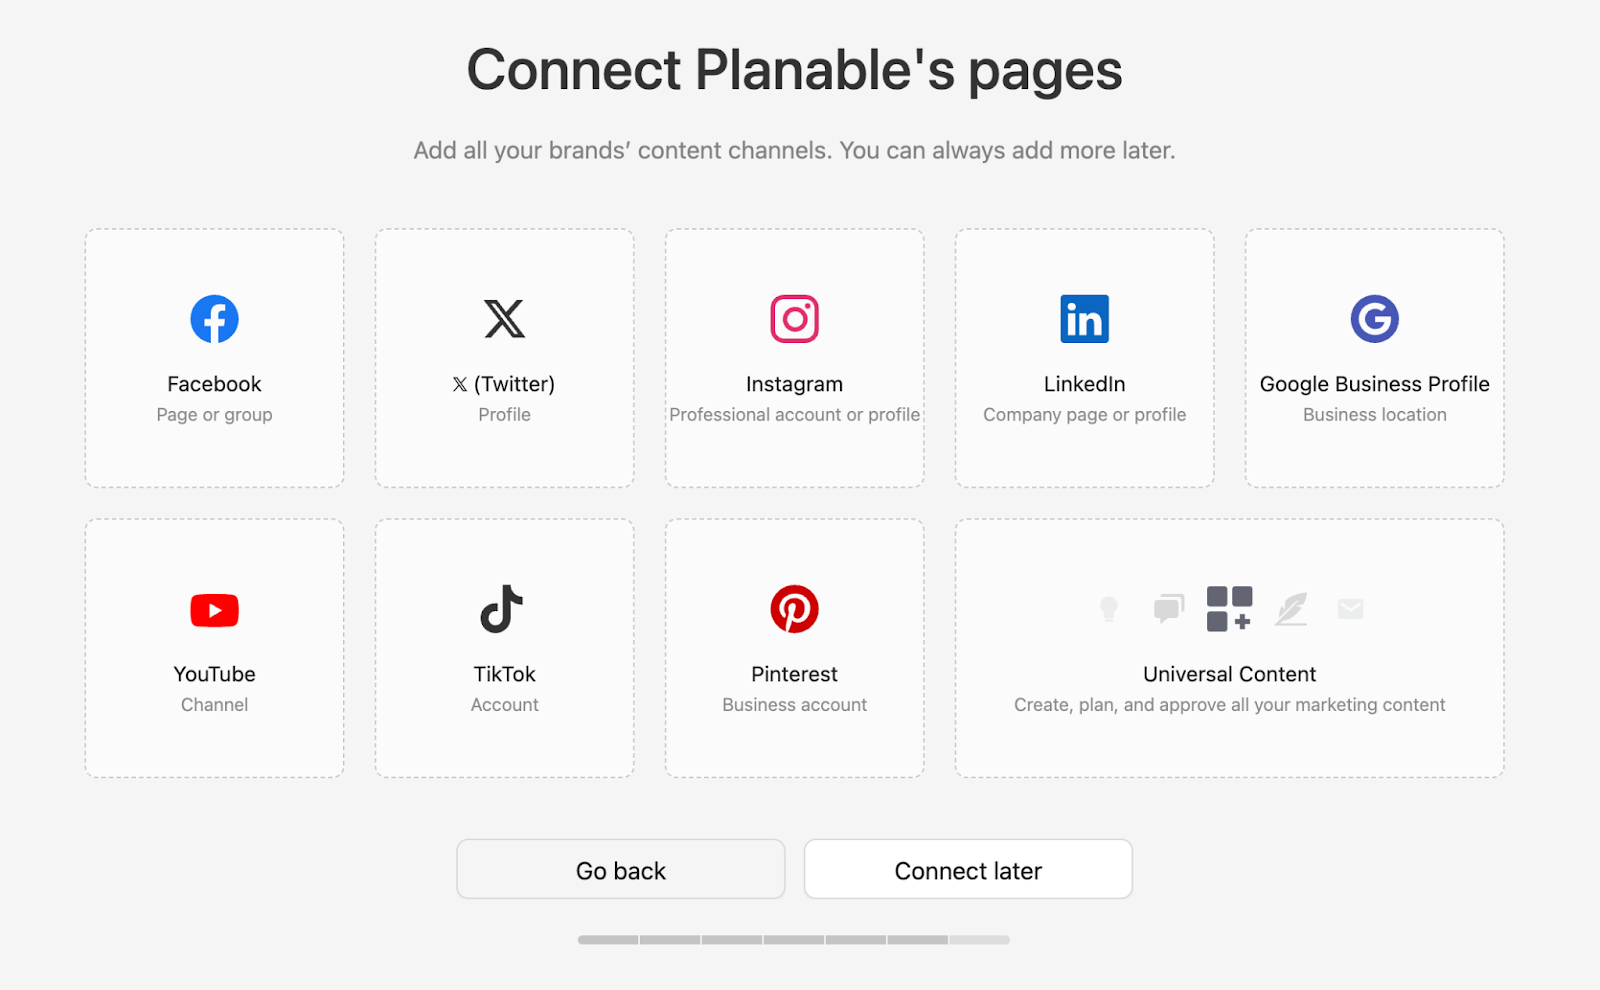
In the Planable.io dashboard, go to "Settings.". Select "Connect Accounts" or "Integrations.". Choose Instagram and follow the instructions to authorize Planable.io to access your Instagram account.
Related: How to Schedule Reels on Instagram Using Hootsuite
- Create a New Post

Navigate to the "Content Calendar" or "Create Post" section. Click on "New Post" or a similar option to start creating your Reel.
- Upload Your Reel
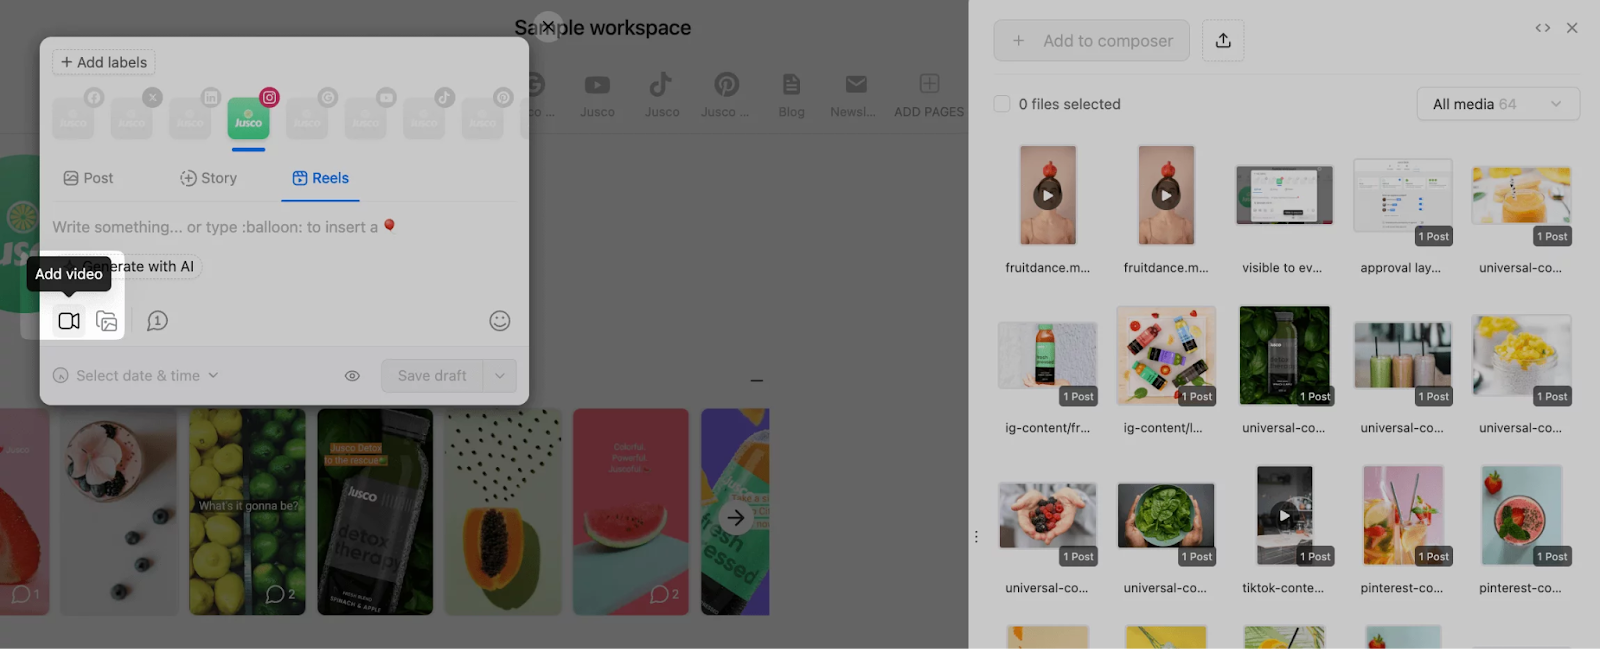
Choose the option to upload a video and select your Instagram Reel file from your device. Ensure the video format is compatible with Instagram’s requirements.
Related: How to Schedule Reels on Instagram Using Ocoya
- Add Post Details
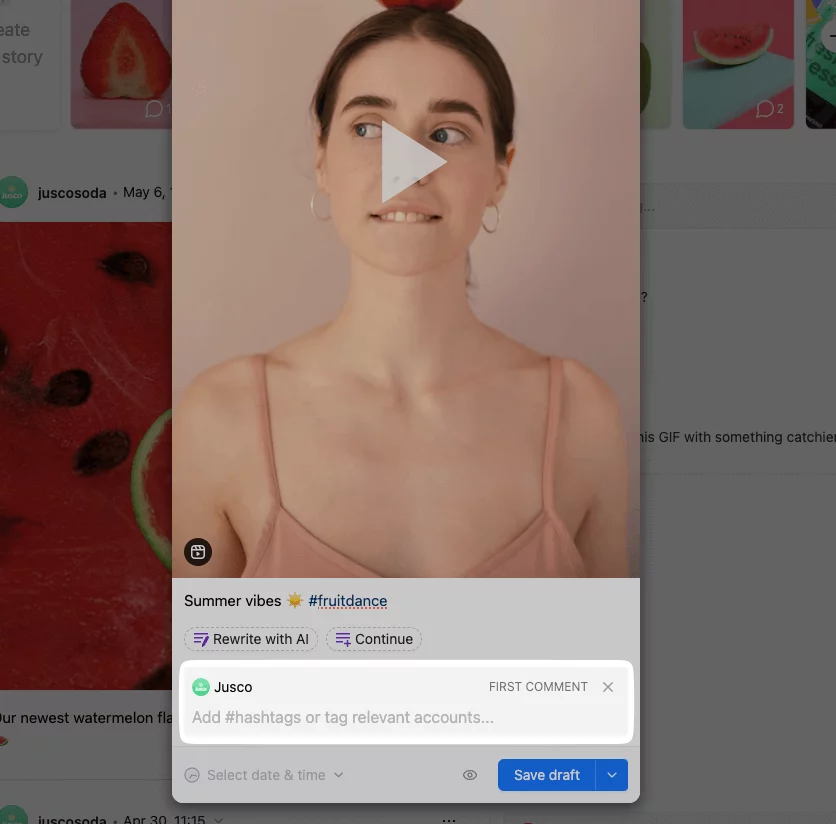
Enter your Reel’s caption, and add relevant hashtags and mentions. Adjust any additional settings, such as tagging users or adding location.
- Schedule the Post
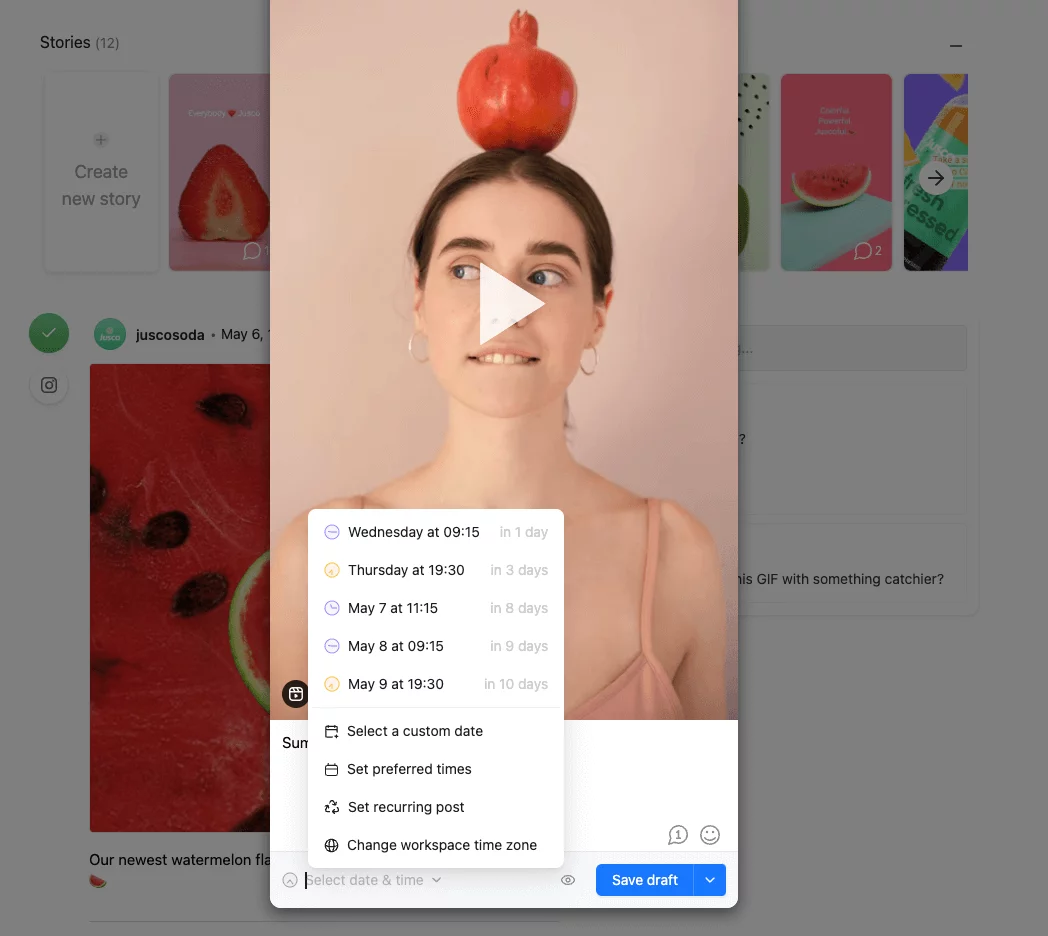
After uploading, select the "Schedule" option. Pick the date and time you want your Reel to be posted. Confirm the scheduled time.
- Review and Confirm
Double-check all the details, including video content, caption, hashtags, and scheduled time. Make any necessary edits.
- Schedule and Monitor

Click on "Schedule" or "Save" to set your Reel for automatic posting. Monitor the scheduled post through the Planable.io dashboard. You can adjust the schedule if needed before the post goes live.
Related: How to Schedule Facebook Reels with FeedHive
Additional Methods and Tips
- Bulk Upload: Planable.io supports scheduling multiple Reels at once through the bulk upload feature available in the content calendar.
- Content Calendar: Utilize the content calendar view to manage and visualize your scheduled Reels and other posts for better content planning.
- Collaboration Features: Work with your team by reviewing and approving content before it goes live.
- Performance Tracking: After posting, analyze engagement metrics to fine-tune your future content strategy
By following these steps, you can effectively use Planable.io to schedule and manage your Instagram Reels, ensuring a consistent posting schedule without needing to manually upload content in real time.
FAQ's
1. Can I schedule multiple Reels at once on Planable.io?
Yes, Planable.io allows you to bulk upload multiple Reels at once, making it easy to plan your content strategy efficiently without manually scheduling each post individually.
2. Does Planable.io support Instagram Reel analytics?
Absolutely. Planable.io provides insights into key metrics such as engagement, reach, and audience demographics, helping you refine your content strategy based on performance data.
3. What video formats are supported when uploading Reels to Planable.io?
Planable.io supports Instagram-compatible formats, primarily MP4 files with a 9:16 aspect ratio and a duration of up to 90 seconds to ensure smooth uploads.
4. Can I edit a scheduled Reel after it has been uploaded to Planable.io?
Yes, you can edit captions, hashtags, and scheduled times before the Reel is posted. However, video files cannot be replaced once uploaded.
5. Does Planable.io offer team collaboration features for Instagram scheduling?
Yes, Planable.io allows teams to collaborate by reviewing, approving, and providing feedback on content before it is published, ensuring a streamlined workflow.