
Sharing content on social media is an essential strategy for digital creators and businesses alike. With the rise of Facebook Reels, many are eager to learn how to schedule Facebook Reels to maintain a consistent online presence. Scheduling your Facebook Reels can help manage your content efficiently, allowing you to reach your audience at the optimal time.
This comprehensive guide will walk you through step-by-step instructions on how to schedule Reels on Facebook, both directly and through third-party tools.
How to Schedule Facebook Reels: How-to-Steps
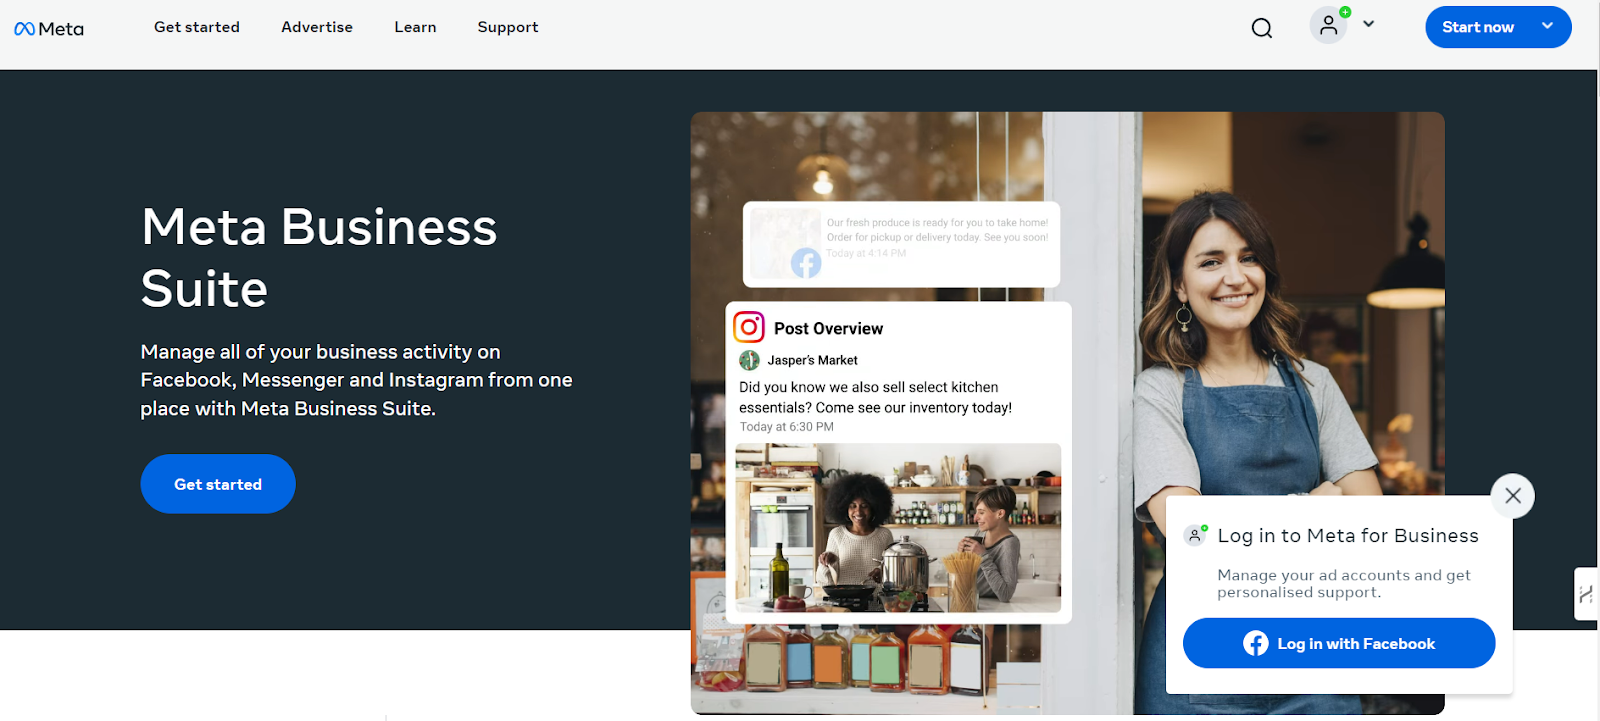
1. Scheduling Facebook Reels Directly via Meta Business Suite
Meta Business Suite offers a built-in way to schedule Facebook Reels, making it an excellent option for businesses and influencers who manage their pages professionally.
1. Create a Reel: In your Meta Business Suite account, select "Create Reel."
2. Choose Sharing Destination: Decide whether to share your Reel on Facebook Reels, Instagram Reels, or both.
3. Prepare Your Reel: Upload your video, add a caption, and choose a thumbnail for your Reel.
4. Edit Your Reel: Click "Edit" at the bottom of the screen to add audio, crop the video, include text, or make enhancements.
5. Schedule Your Reel: Click "Share" at the bottom, then select "Schedule" from the scheduling options. Choose the desired date and time for your Reel to be published.
6. Finalize Scheduling: Click "Schedule" to confirm.
7. View Scheduled Reels: To check scheduled Reels on Facebook, go to Meta Business Suite, click on "Content" from the left-side menu, select "Posts & Reels," and then navigate to "Scheduled." Posts & Reels is also where you can edit or delete any scheduled Facebook Reels.
2. Scheduling Facebook Reels Using Third-Party Tools
If you prefer using social media management tools, several third-party platforms offer advanced scheduling options, performance tracking, and team collaboration features. Below are some popular tools and the steps to schedule your Facebook Reels.
Scheduling Facebook Reels Using Simplified

1. Log In to Simplified: Sign in to your Simplified account.
2. Connect Facebook Account: Go to the "Integrations" section and link your Facebook account.
3. Create a New Post: Navigate to the "Content Calendar" or "Scheduling" section. Select "Create Post" and choose Facebook as the platform.
4. Upload Your Reel: Upload your video file and add a caption, tags, and other details.
5. Schedule Your Post:Choose “Schedule” and set the desired date and time for publishing.
6. Save:Click “Save” or “Schedule” to finalize your post.
Related: How to Create a Carousel Post on Facebook using Predis.ai
Scheduling Facebook Reels Using Later
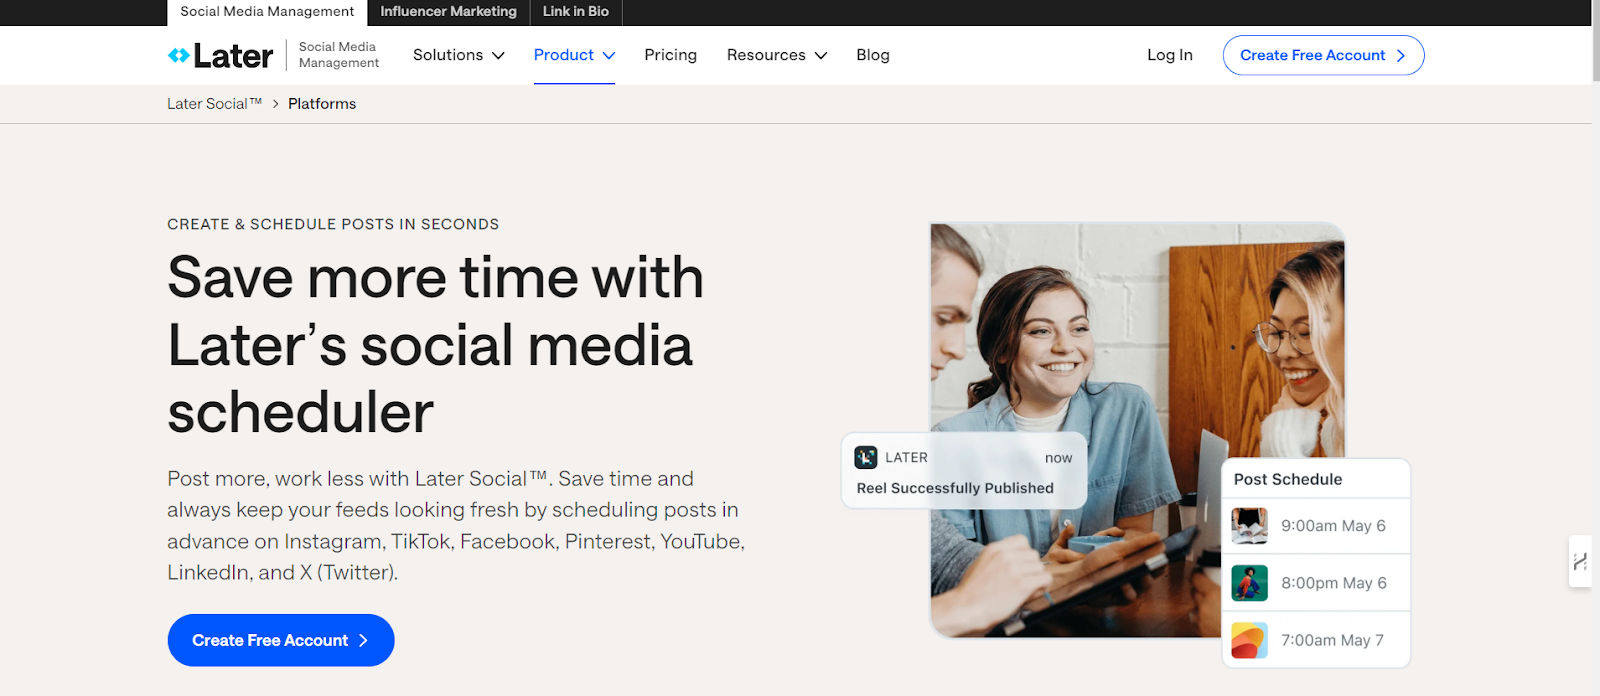
1. Log In to Later: Access your Later account.
2. Connect Facebook Account: Go to the "Social Profiles" section and add your Facebook account.
3. Upload Your Reel: Drag and drop your video into the "Media Library" or upload it through the upload button.
4. Create a Post: Click on “Create Post” and select Facebook as the platform.
5. Add Details: Enter your caption, tags, and any other necessary information.
6. Schedule Your Post: Choose the “Schedule” option and set the date and time for publishing.
7. Confirm: Click “Save” to confirm your scheduled post.
Scheduling Facebook Reels Using Planable.io

1. Log In to Planable.io: Sign in to your Planable.io account.
2. Connect Facebook Account: Link your Facebook account under the “Accounts” section.
3. Create a Post: Go to the "Content" tab and start a new post.
4. Upload Your Reel: Upload the video file, add captions, and any other details.
5. Schedule Your Post: Set the desired date and time for when you want your Reel to be published.
6. Review and Confirm: Review your post in the calendar view and confirm the schedule.\
Related: How to Schedule Facebook Reels with FeedHive
Scheduling Facebook Reels Using Vista Social

1. Log In to Vista Social: Access your Vista Social account.
2. Connect Facebook Account: Go to the "Settings" or "Integrations" section and link your Facebook account.
3. Create a New Post: Click on “Create Post” and select Facebook as the platform.
4. Upload Your Reel: Upload your video file, add a caption, tags, and other details.
5. Schedule Your Post: Choose the “Schedule” option and set the date and time for publishing.
6. Save: Click “Save” or “Schedule” to finalize your post.
Scheduling Facebook Reels Using Buffer
1. Log In: Sign in to your Buffer account.
2. Go to Publishing Queue: Navigate to the "Publishing" or "Queue" section.
3. Create a New Post: Click on "Create Post" and select Facebook as the platform.
4. Upload Your Reel: Add your video file, write a caption, and choose a thumbnail.
5. Schedule the Post: Set the date and time for your Reel to be published in the scheduling options.
6. Save and Schedule: Click "Add to Queue" or "Schedule" to finalize the scheduling.
Related: How to Schedule Facebook Reels with FeedHive
Scheduling Facebook Reels Using Publer
1. Log In to Publer: Sign in to your Publer account.
2. Connect Facebook Account: Link your Facebook account under the "Social Accounts" section.
3. Create a New Post: Go to the "Create Post" section and select Facebook.
4. Upload Your Reel: Upload your video file and add captions, hashtags, and other details.
5. Schedule Your Post: Set the date and time for when you want your Reel to go live.
6. Confirm: Click “Schedule” to confirm and save your post.
To Finale
Scheduling Facebook Reels is an effective way to streamline your social media marketing strategy. Whether you choose to schedule directly via Meta Business Suite or utilize third-party tools like Later or Vista Social, the key is to plan your content in advance to maximize engagement. Start scheduling your Reels today and take control of your social media presence!
FAQs
1. Can I schedule Facebook Reels from my mobile phone?
Yes, you can schedule Facebook Reels from your mobile device using the Meta Business Suite mobile app or third-party apps such as Later or Publer.
2. How far in advance can I schedule Facebook Reels?
Meta Business Suite allows scheduling up to 75 days in advance. Third-party tools may have varying limits based on their features.
3. Can I edit a scheduled Facebook Reel before it gets published?
Yes, you can edit or reschedule your Reel via Meta Business Suite by navigating to "Scheduled" posts and selecting the Reel you want to modify.
4. Do third-party tools offer analytics for scheduled Facebook Reels?
Yes, most third-party scheduling tools provide analytics to track the performance of your scheduled Reels, including engagement rates, reach, and viewer insights.
5. Is there a way to schedule Reels to both Facebook and Instagram simultaneously?
Yes, Meta Business Suite allows scheduling to both Facebook and Instagram from a single interface, ensuring a consistent presence across platforms.