
QuickBooks Online is a powerful cloud-based accounting software that helps businesses manage their finances, track expenses, and streamline bookkeeping. Whether you’re a small business owner, freelancer, or entrepreneur, QuickBooks Online makes financial management easier.
This guide will walk you through the step-by-step process of setting up and using QuickBooks Online effectively.
How to Use QuickBooks Online
Step 1: Sign Up for QuickBooks Online
- Visit QuickBooks Online and choose a plan that fits your business needs.
- Click on "Buy Now" or "Free Trial" (if available).
- Create an account by entering your email, business details, and payment information.
- Complete the initial setup by following the on-screen instructions.
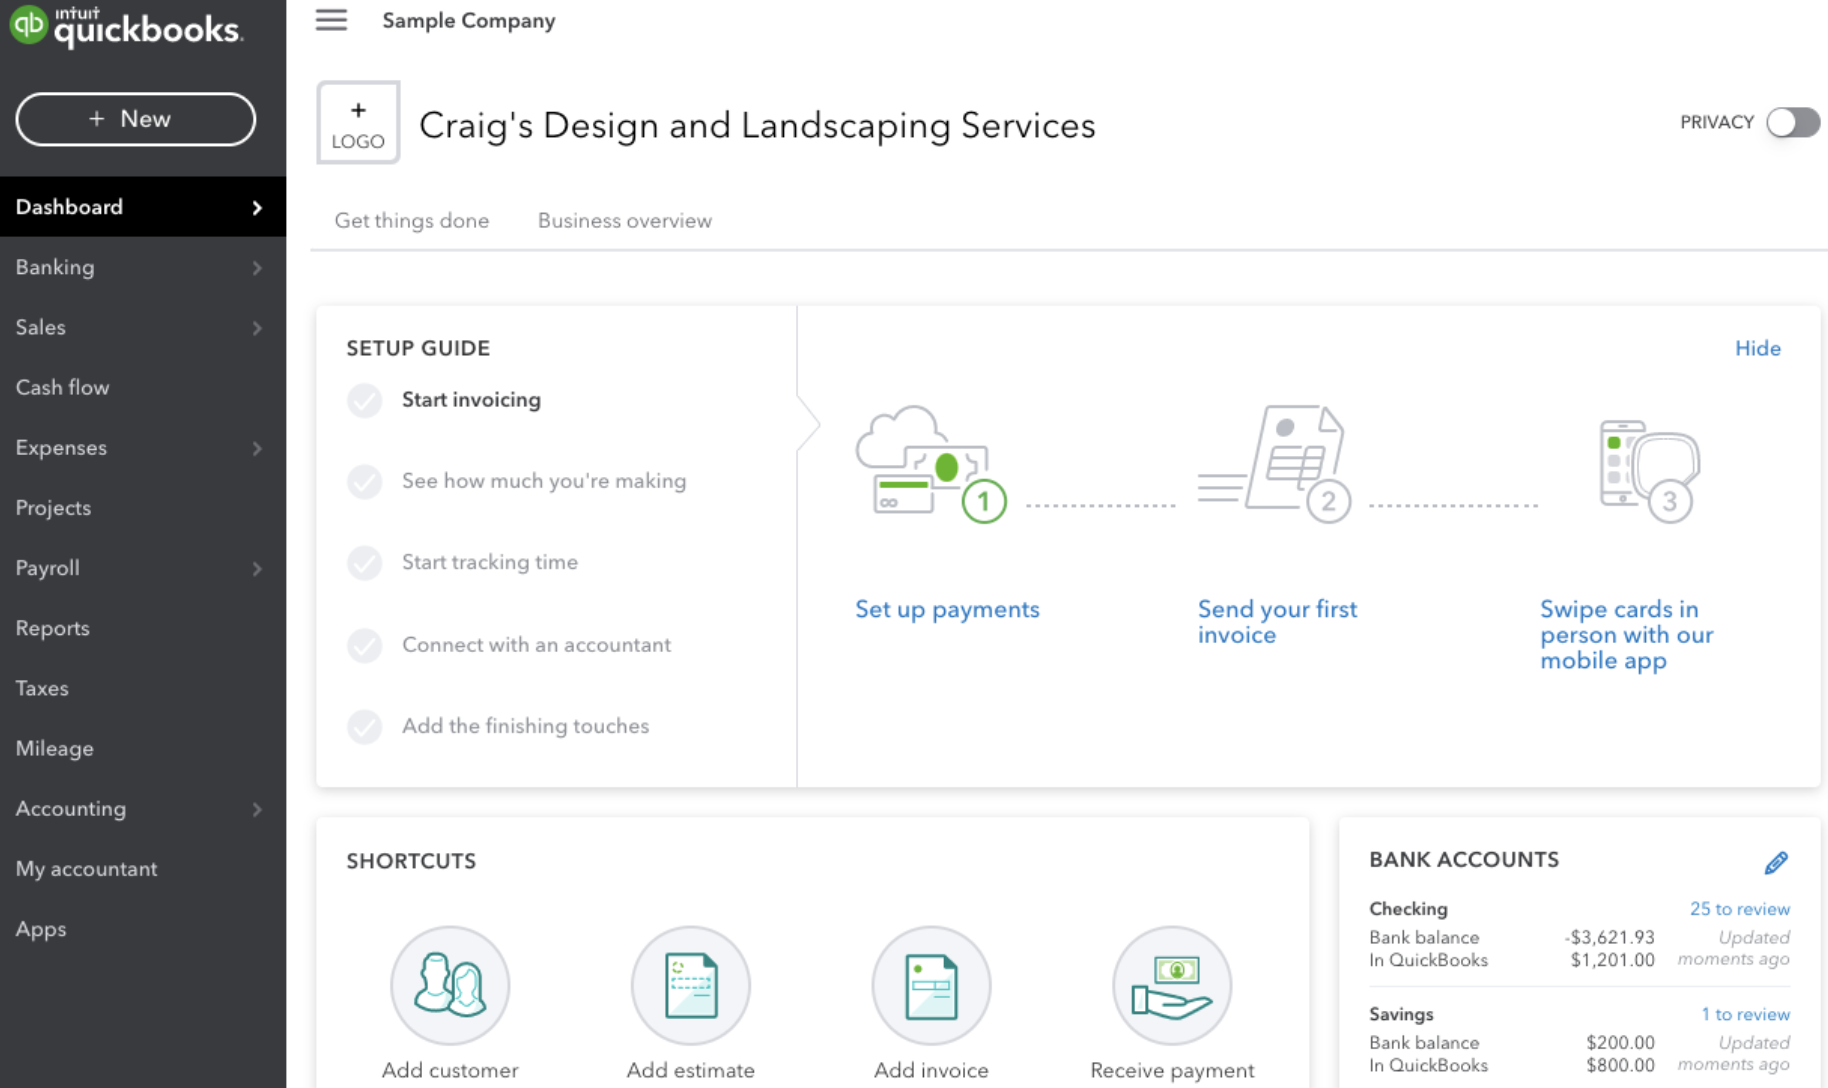
Step 2: Set Up Your Business Profile
- After signing in, go to Settings (⚙️) > Account and Settings.
- Enter your business name, industry, company type, and contact details.
- Upload your business logo for professional branding on invoices.
- Configure tax settings based on your location.
Step 3: Connect Your Bank and Credit Card Accounts
- Navigate to Banking > Link Account to connect your bank accounts.
- Select your bank and log in using your credentials.
- QuickBooks will automatically import transactions, helping you categorize expenses easily.
Step 4: Customize Your Chart of Accounts
- Go to Accounting > Chart of Accounts to view predefined categories.
- Modify or add accounts to match your business expenses and revenue sources.
- This helps in tracking income, expenses, assets, and liabilities effectively.
Step 5: Create and Send Invoices
- Click on Sales > Invoices > New Invoice.
- Select a customer or add a new one.
- Enter the invoice details, including the amount, due date, and payment terms.
- Customize the invoice with your logo and brand colors.
- Click Save & Send to email the invoice to your client.
🔹 Tip: Enable online payments to allow customers to pay directly from the invoice.
Step 6: Record Expenses and Track Bills
- Navigate to Expenses > Vendors to add suppliers.
- Click on New Expense to log purchases or payments.
- Attach receipts for easy record-keeping.
- Set up recurring expenses for monthly bills like rent, utilities, or subscriptions.
Step 7: Run Financial Reports
- Go to Reports and select a report type, such as:
- Profit & Loss Statement (track income vs. expenses)
- Balance Sheet (view assets and liabilities)
- Cash Flow Report (monitor cash inflows and outflows)
- Customize reports by selecting a date range and filters.
- Export reports as PDF or Excel for easy sharing.
🔹 Tip: Regularly reviewing cash flow reports can help businesses maintain financial stability. Tools like Otto an ai accounting software offer additional insights into cash flow trends, making it easier to plan ahead.
Step 8: Manage Payroll (If Applicable)
- Click Payroll > Employees to add employee details.
- Set up payment methods (direct deposit or check).
- QuickBooks will calculate taxes and generate pay stubs automatically.
Related: How to Create an Invoice Using Otto
Step 9: Automate Recurring Transactions
- Navigate to Settings (⚙️) > Recurring Transactions.
- Choose invoices, bills, or expenses to automate payments.
- Set the frequency (weekly, monthly, etc.).
Step 10: Back Up and Secure Your Data
- Enable automatic backups to protect your financial data.
- Set up user roles and permissions to control access.
- Use two-factor authentication (2FA) for extra security.
Final Thoughts
Using QuickBooks Online simplifies financial management and saves time for business owners. By following these steps, you can efficiently handle invoicing, expenses, payroll, and reporting.
Need additional help? QuickBooks offers customer support and tutorials to guide you further.
Start managing your finances smarter with QuickBooks Online today!
FAQ’s
1. Is QuickBooks Online suitable for small businesses?
Yes! QuickBooks Online is designed for businesses of all sizes, including freelancers, startups, and small businesses. It offers features like invoicing, expense tracking, and financial reporting, making it an excellent choice for managing business finances efficiently.
2. Can I connect my bank account to QuickBooks Online?
Absolutely! QuickBooks Online allows you to link your bank and credit card accounts, automatically importing transactions to help you track expenses and reconcile accounts easily.
3. How do I generate financial reports in QuickBooks Online?
You can generate reports by going to Reports and selecting the type of report you need (e.g., Profit & Loss, Balance Sheet, Cash Flow). You can customize the date range and filters before exporting the report in PDF or Excel format.
4. Can QuickBooks Online automate recurring transactions?
Yes! You can automate invoices, bills, and payments by setting up Recurring Transactions under Settings. This feature is helpful for businesses with recurring clients or monthly subscriptions.
5. How does QuickBooks Online help with cash flow management?
QuickBooks Online provides real-time insights into your income and expenses. For better financial planning and forecasting, you can also integrate additional tools like Join Otto to gain deeper cash flow insights and make more informed business decisions.