
Managing your LinkedIn content efficiently involves more than just scheduling posts; it also includes the ability to make timely edits to ensure your posts remain relevant and engaging. Taplio provides a seamless platform for editing scheduled posts on LinkedIn, allowing you to refine your content and adapt your strategy as needed. This guide will walk you through the detailed steps to edit your scheduled LinkedIn posts using Taplio.
How to Edit Scheduled Posts on LinkedIn: How to Steps
Log In
- Access Taplio: Open your web browser and go to Taplio website.
- Sign In: Enter your credentials (username and password) to log in to your Taplio account. If you don’t have an account, you’ll need to create one.
Navigate to Content Calendar
- Dashboard Access: Once logged in, you will be directed to the Taplio dashboard.
- Find Content Calendar: Locate the “Content Calendar” or “Scheduled Posts” section from the main menu. This is typically found on the sidebar or under a specific tab related to content management.
Locate the Post
- View Scheduled Posts: In the Content Calendar view, you will see a timeline or calendar layout displaying all your scheduled posts.
- Search or Scroll: Use the search bar or scroll through the calendar to find the LinkedIn post you want to edit. You can filter by date or content type if needed.
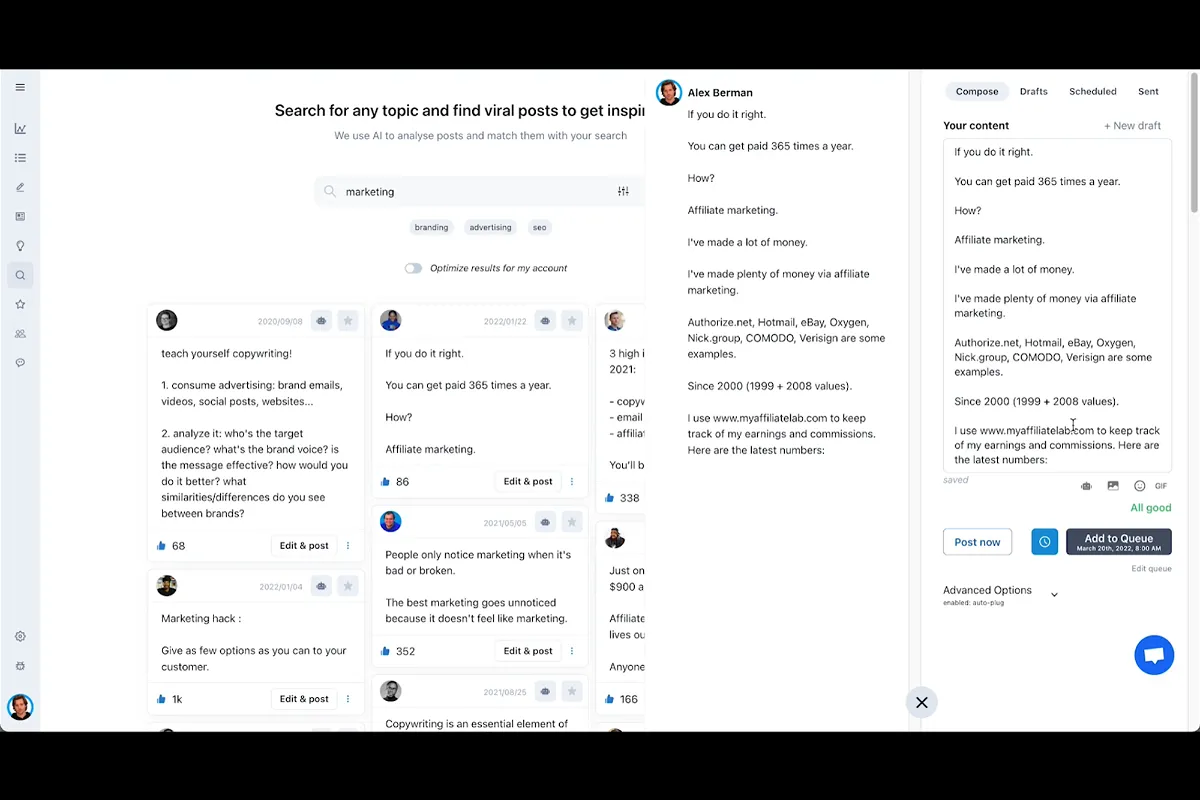
Edit the Post
- Select the Post: Click on the specific post you wish to modify. This action will open up the post details for editing.
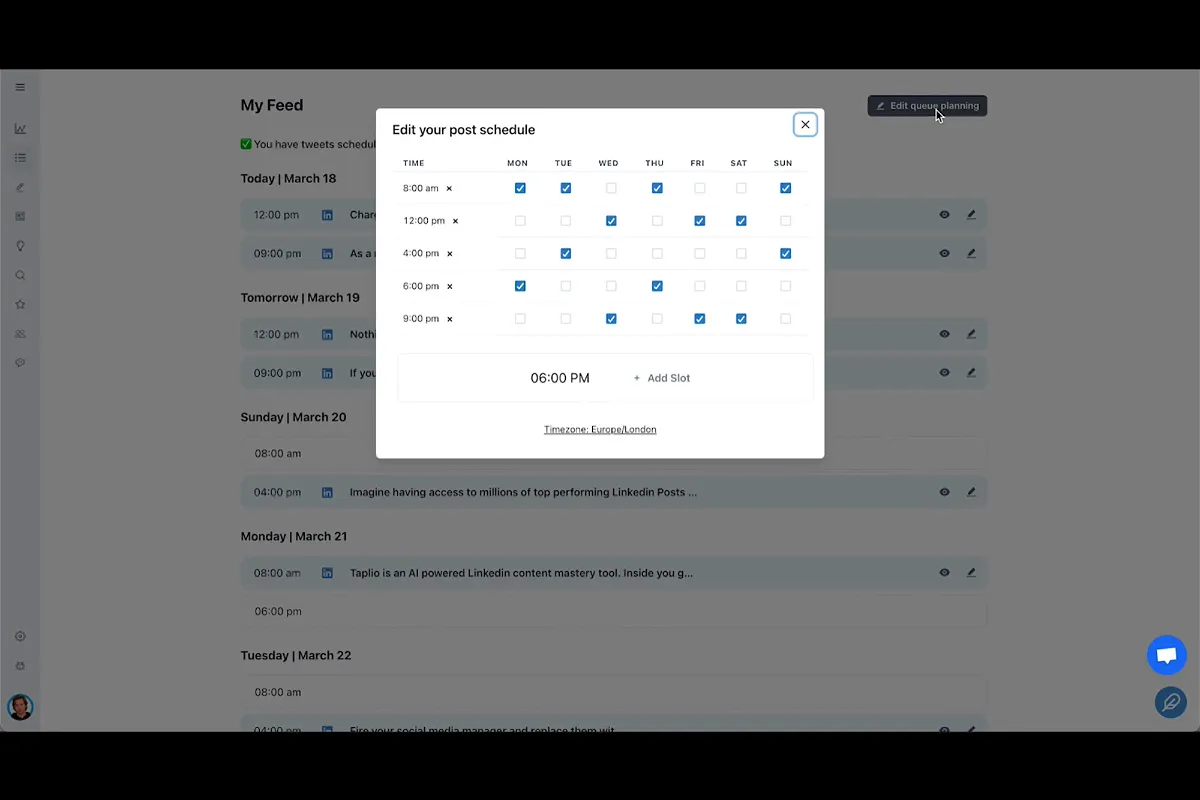
- Make Changes: Adjust the post content, such as editing the text, changing images, or updating tags. You can also modify the scheduled time by selecting a new date and time.
- Add or Remove Elements: If necessary, add or remove multimedia elements (like images or videos) or tweak the post description to better suit your current messaging strategy.
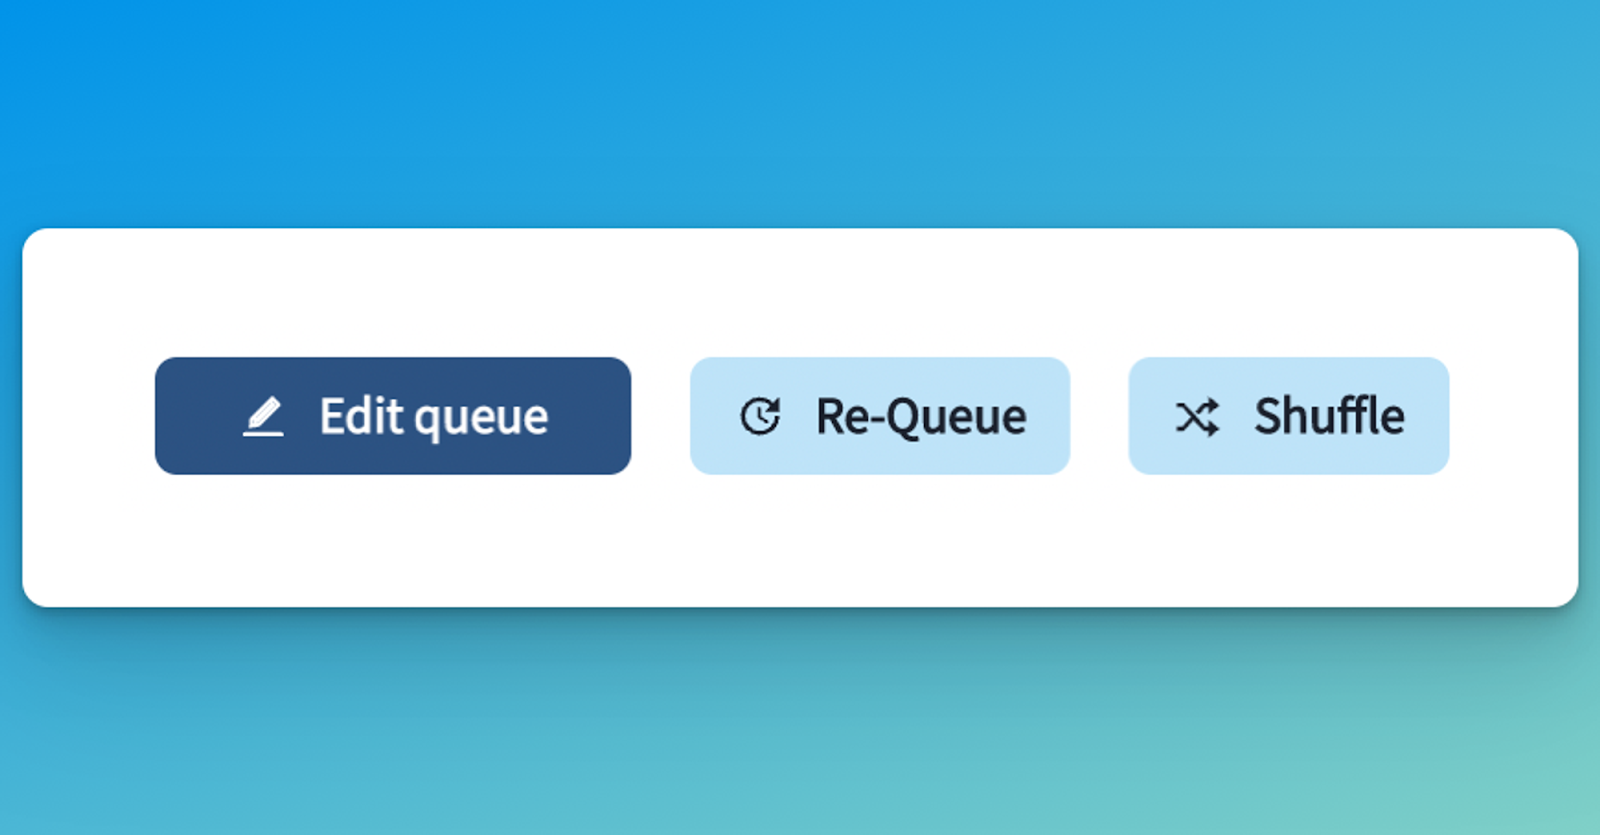
Save Changes
- Apply Edits: Once you have made the necessary changes, look for a “Save” or “Update” button. Click this button to apply your modifications to the post.
- Confirmation: Taplio may provide a confirmation message or indicate that the post has been successfully updated.
Review
- Check Updated Post: Return to the Content Calendar to ensure the changes are correctly reflected. Confirm that the post is scheduled according to your updated preferences.
Verify Timing and Content: Make sure the new schedule and content align with your intended strategy and timing.
Frequently Asked Questions (FAQs)
1. Can I edit a LinkedIn post after it has been scheduled in Taplio?
Yes, you can edit scheduled posts in Taplio before they go live. Simply navigate to the Content Calendar, locate your post, and make necessary changes before saving.
2. Will editing a scheduled post in Taplio change the post’s engagement metrics?
No, since the post has not yet been published, editing it will not impact engagement metrics. However, once posted, any changes made directly on LinkedIn may affect metrics.
3. Can I reschedule a post after editing it in Taplio?
Yes, allows you to modify the scheduled time and date for your post. You can update it while editing the post details.
4. Does Taplio send notifications when a scheduled post is edited?
Taplio does not typically send notifications for edits, but you can check your Content Calendar to ensure the changes have been saved successfully.
5. What if I want to delete a scheduled post instead of editing it?
If you decide not to post the content, allows you to delete scheduled posts. Simply select the post from the Content Calendar and choose the delete option.
By following these steps, you can ensure your LinkedIn posts remain relevant, accurate, and engaging before they go live.