
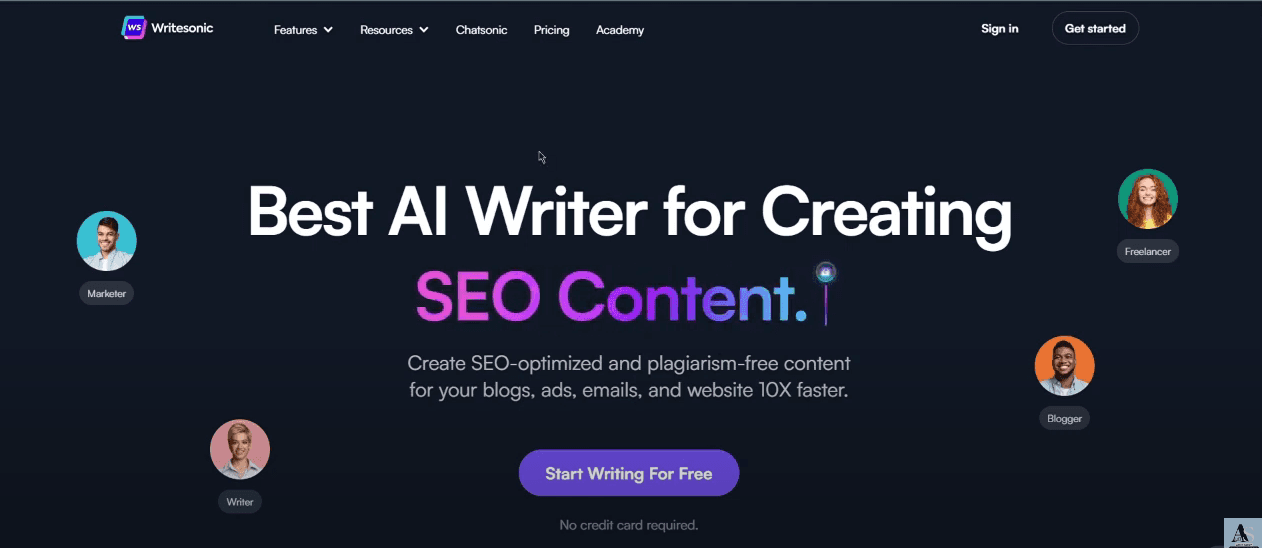
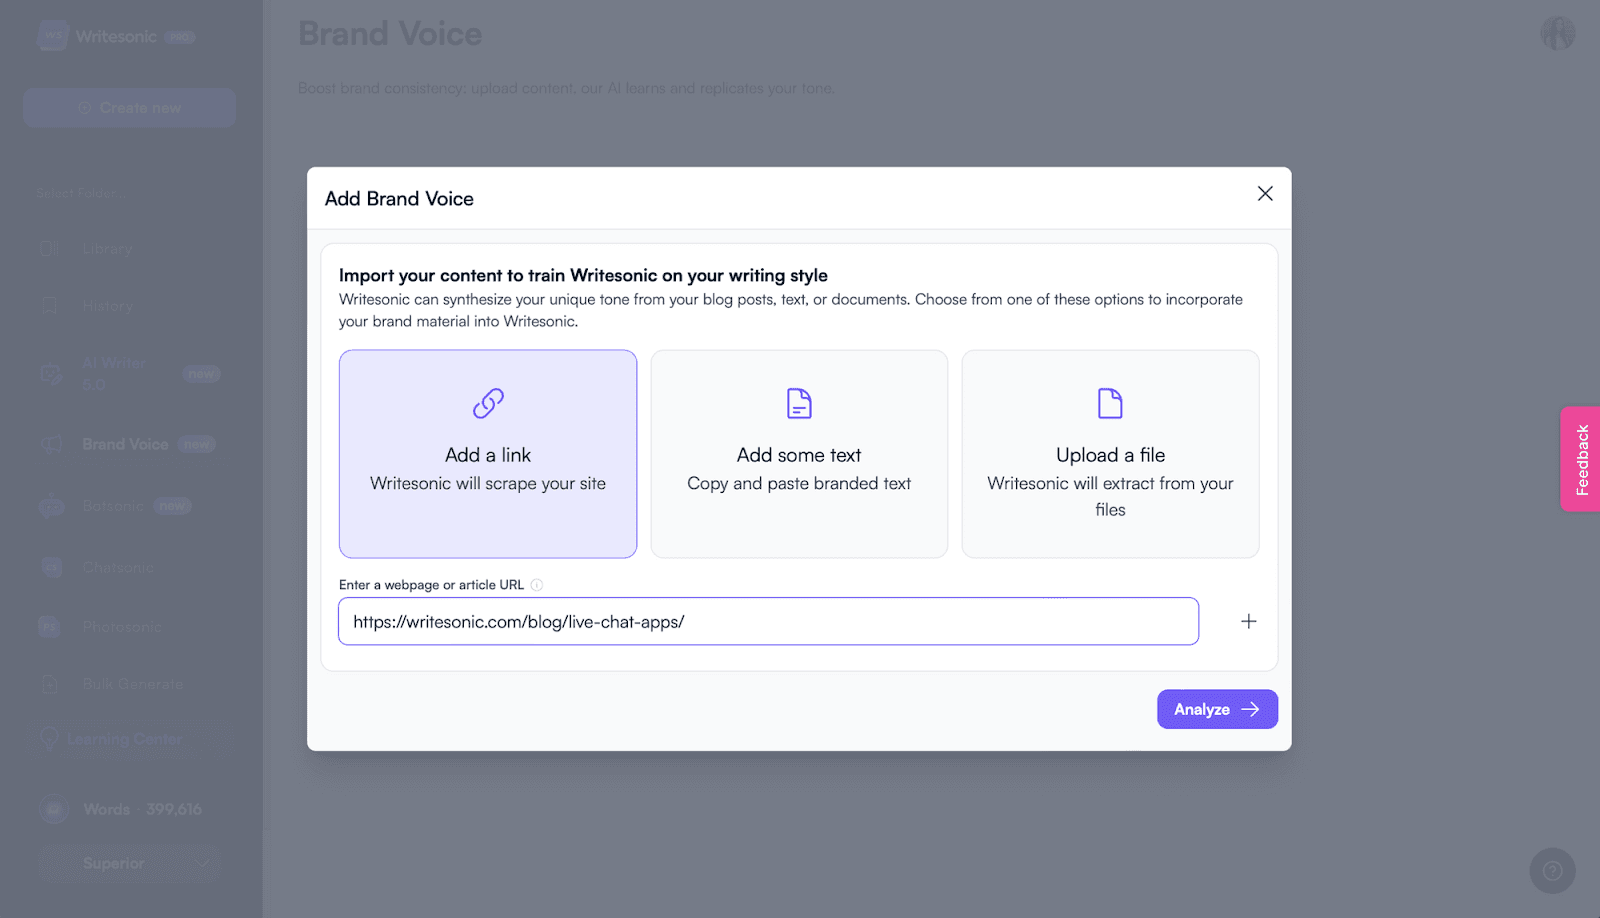
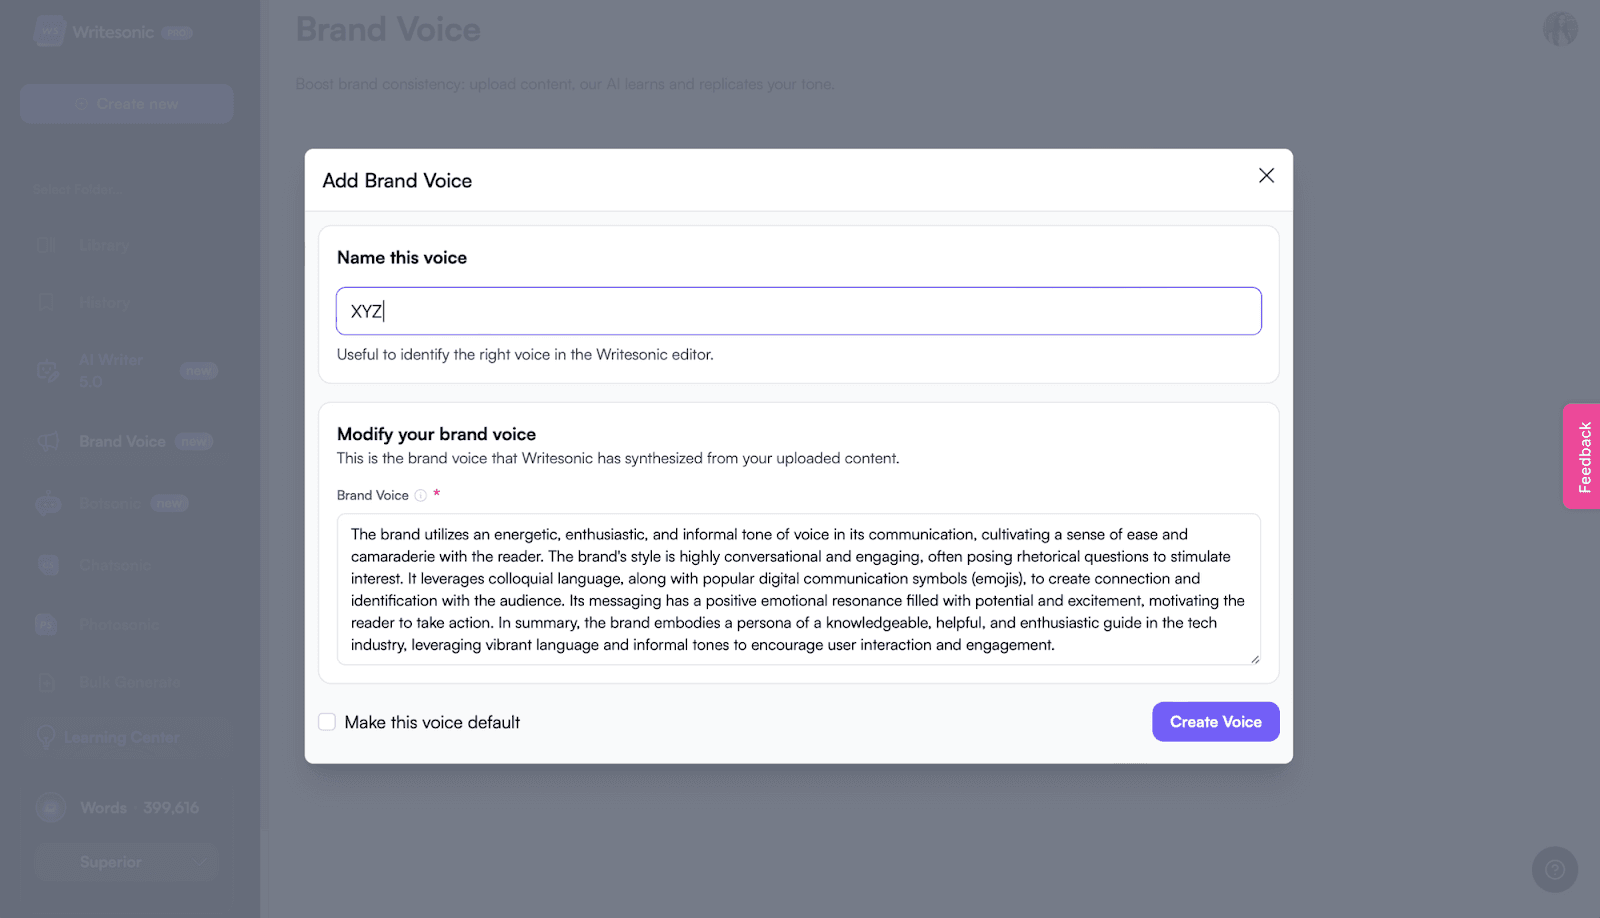
In today's digital world, the demand for more engaging and relatable online content is ever-increasing. As businesses use artificial intelligence (AI) to generate content, the challenge often lies in making this content feel more human and less robotic. This is where tools like Writesonic come into play, helping to humanize AI-generated content effectively. By adding personal touches and emotional appeal, Writesonic can transform straightforward AI text into content that resonates with readers on a human level.
How To Humanize AI Content: How-to-Steps
- Navigate to the Tool:
- Go to Writesonic Text Humanizer.
- Enter Your Text:
- Locate the input field on the page.
- Copy the AI-generated text you want to humanize.
- Paste the text into the input field.
Choose the Tone of Voice:
- You will see a dropdown menu or a set of options for selecting the tone of voice.
- Options may include tones like casual, formal, enthusiastic, or professional.
- Select the tone that best fits your needs.
- Click the ‘Humanize’ Button:
- Once your text is entered and the tone is selected, look for the ‘Humanize’ button.
- Click this button to start the humanization process.
- Review the Output:

- After a few moments, the tool will display the humanized version of your text.

- Carefully read through the transformed content to ensure it meets your expectations.
Edit as Needed
- If necessary, make additional edits to further tweak the tone, style, or clarity.

- Ensure the content aligns with your brand's voice and message.
Copy the Final Text:
- Once you’re satisfied with the humanized text, copy it from the tool.

- Paste it into your desired document, blog, social media post, or any other platform where you need to use it.
Additional Tips
- Context Matters: Always consider the context in which the content will be used to ensure the tone and style are appropriate.
- Consistency: Maintain a consistent voice across all your content for better brand recognition.
- Proofreading: Despite using the humanizer tool, always proofread the final text for any errors or improvements.
Explore Related Tools at Simplified
Simplified also offers the All-in-One, AI-powered App to enhance your productivity and take care of all your content marketing needs. Forget switching between 6 apps– from videos and graphics to writing and social media management, discover the ease of having everything you need in one place with Simplified