Editing videos for YouTube can be an exciting yet challenging adventure, especially for those new to content creation. With the right tools and a few tips, anyone can start creating engaging YouTube videos that attract viewers and keep them coming back for more. InVideo is one of the platforms that makes this process straightforward. Whether you're looking to create engaging content or enhance your video storytelling, understanding how to edit videos for YouTube using InVideo is essential. This guide will walk you through the basic steps of how to edit videos specifically for YouTube, highlighting key techniques and tools that can help you in the process.
How To Edit Videos For Youtube: How-to-Steps
1. Sign Up and Log In

Visit the InVideo website and create an account if you haven't already. Log in to access the dashboard.
2. Choose a Template

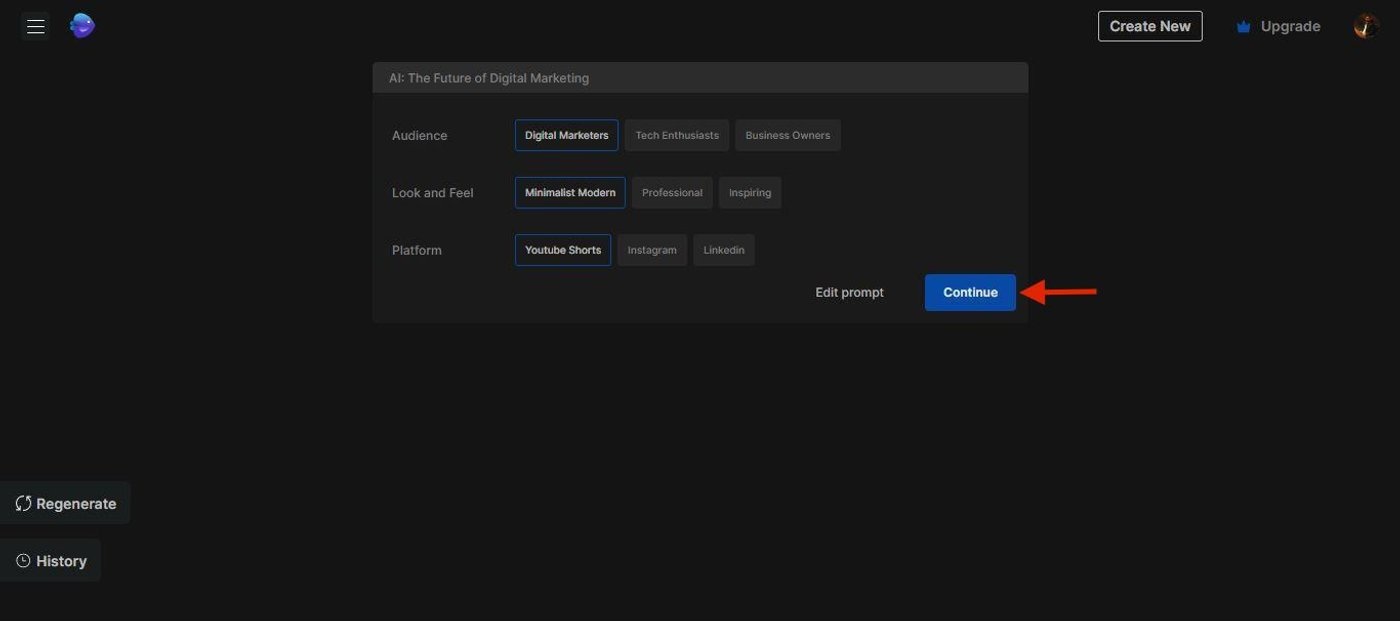
On the dashboard, click on "Create New." Select a template based on your video’s theme. InVideo offers a wide range of templates suitable for different genres.
3. Upload Media
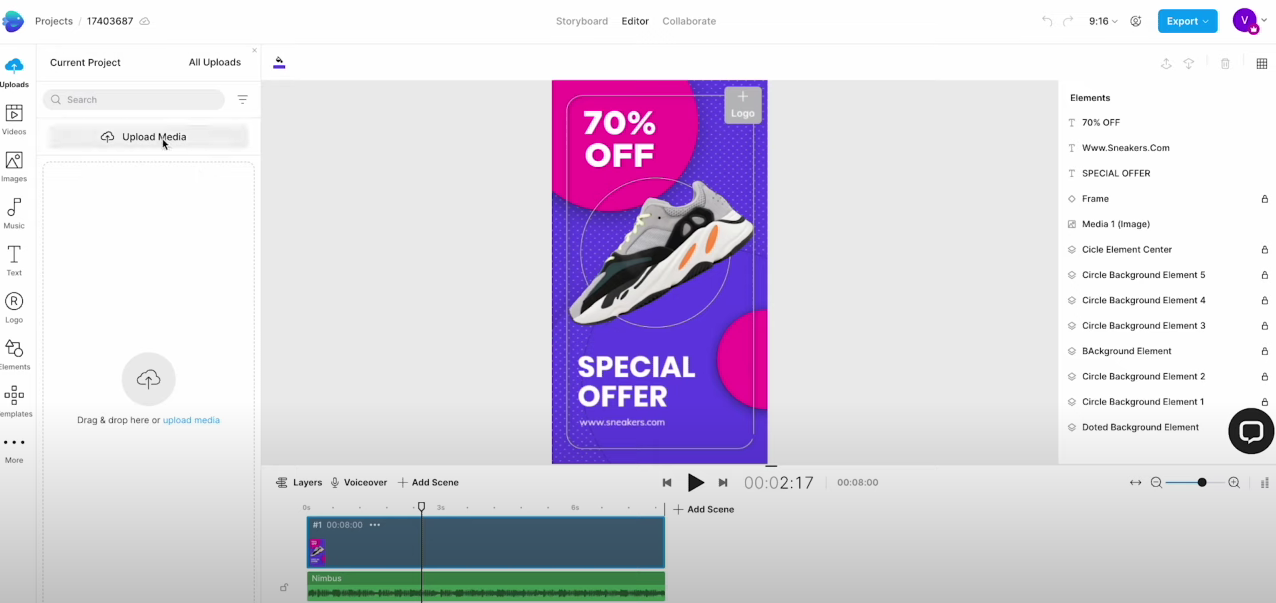
Click on "Upload Media" to import your video clips, images, and audio files. You can also drag and drop files directly.
4. Editing the Timeline
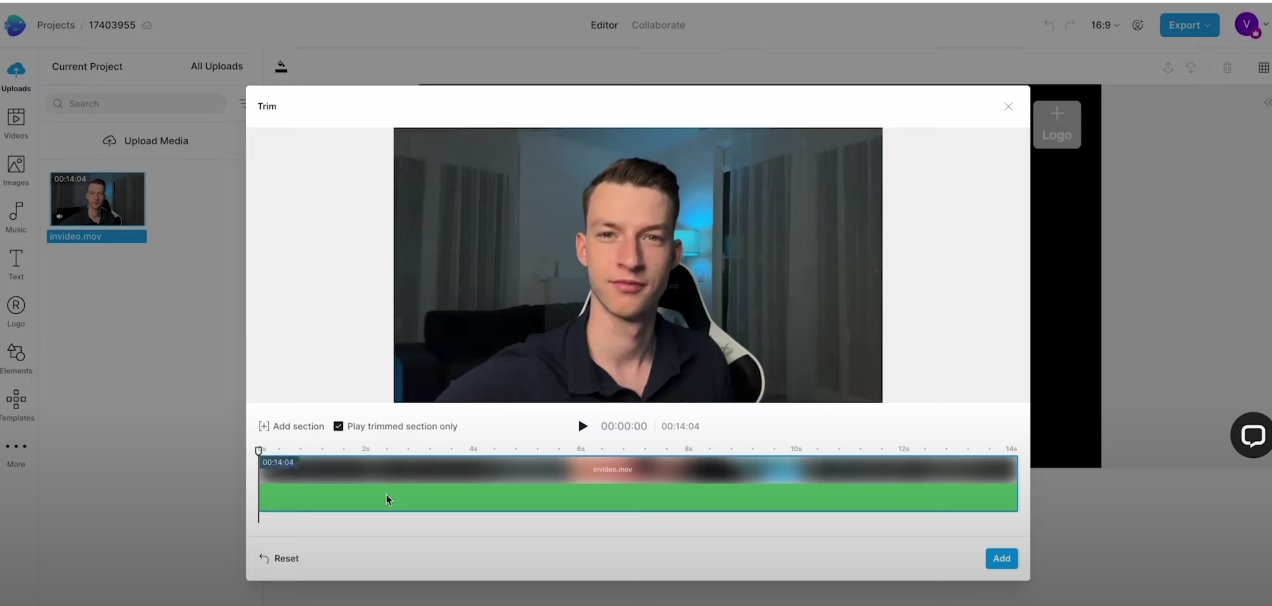
- Trim and Split: Drag your media to the timeline. Use the trim handles to shorten clips or the split tool to cut clips into segments.
- Transitions: Add transitions between clips by clicking the "Transitions" tab. Choose from various styles and drag them between clips.
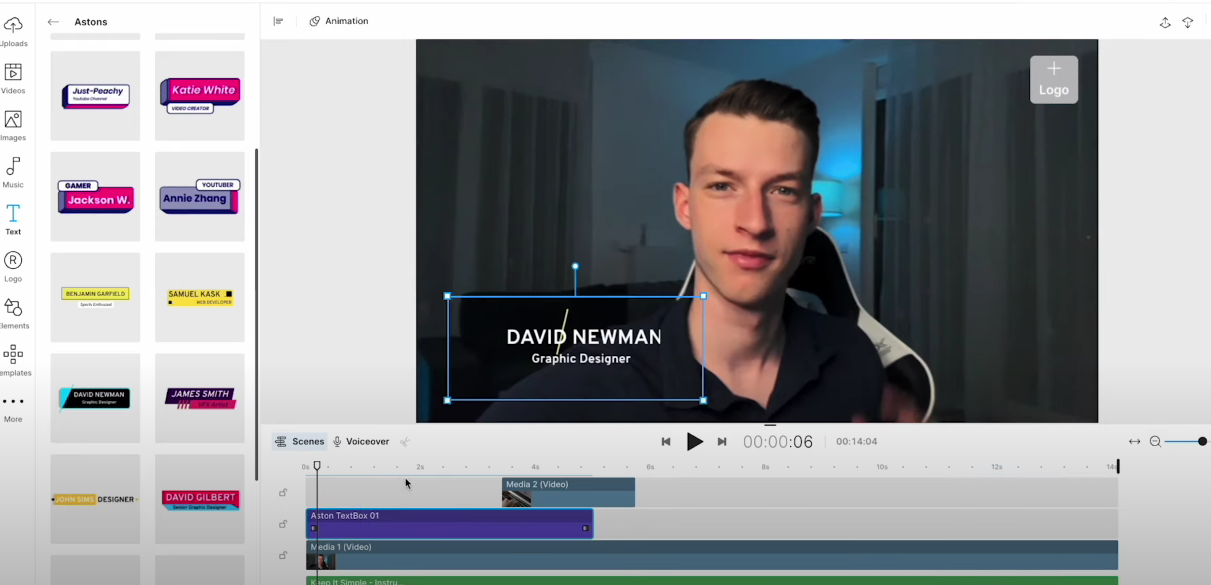
- Text and Titles: Click on "Text" to add titles, captions, and annotations. Customize font, size, color, and animation.

- Audio: Add background music or voiceovers by clicking on the "Music" tab. Adjust volume levels and use fade-in/fade-out effects.
5. Enhance Your Video
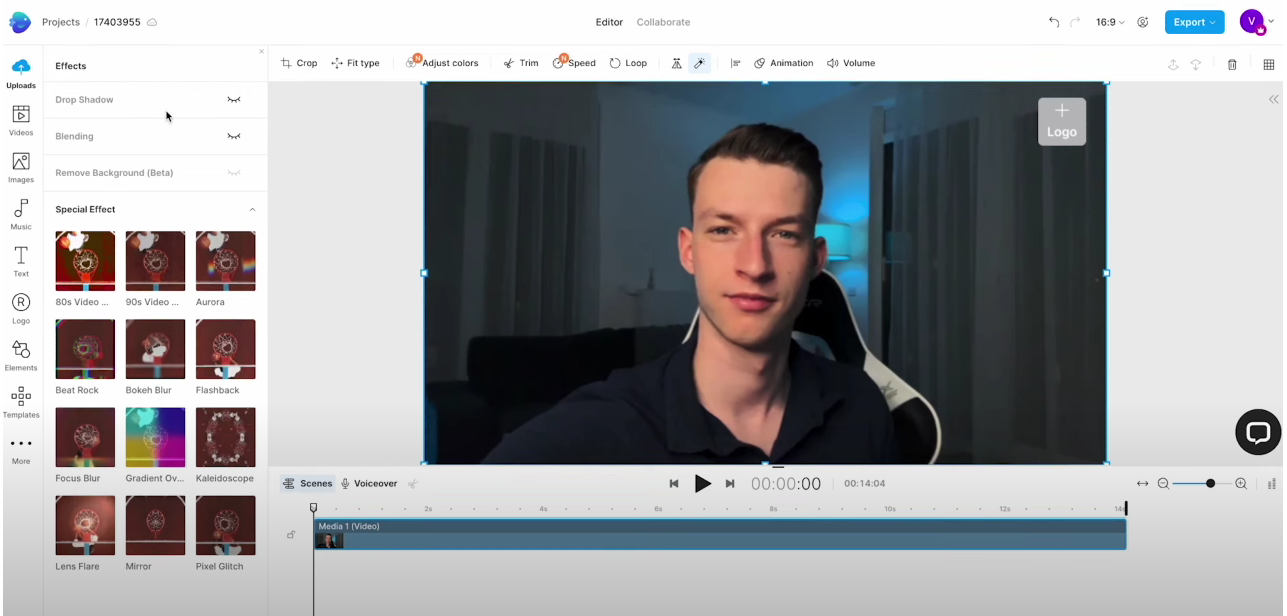
- Effects: Apply filters and visual effects by clicking on "Effects." Choose from options like brightness, contrast, and color grading.
- Animations: Use the "Animations" tab to add motion to your elements. Animate text, images, and videos with predefined effects.
- Stickers and Overlays: Add stickers and overlays from the "Stickers" and "Overlays" sections to enhance visual appeal.
6. Preview and Adjust

Click on "Preview" to watch your edited video. Make necessary adjustments to timing, effects, and transitions based on the preview.
7. Export Your Video

Once satisfied, click on the "Export" button. Choose the desired resolution and format for your video. Click "Export" again to render your video. This process may take some time depending on the video length and complexity.
8. Upload to YouTube
After rendering, download the video file to your computer. Log in to your YouTube account, click on the "Create" button, and select "Upload Video." Follow the prompts to upload your video, add a title, description, tags, and choose thumbnail settings.
Additional Tips
- Consistency: Maintain a consistent style across your videos to establish a recognizable brand.
- Thumbnails: Create compelling thumbnails as they significantly impact click-through rates.
- SEO: Use relevant keywords in your title, description, and tags to improve discoverability.
Explore a Related Tool: Simplified Video Editor

If you're looking for additional tools to edit videos for YouTube, consider exploring Simplified. Simplified video editor offers a robust video editor designed to cater to the needs of content creators across various platforms, including YouTube. Simplified helps you take your video editing to the next level with intuitive controls and a user-friendly interface.
Simplified not only excels in video editing but also offers the All-in-One, AI-powered App to enhance your productivity and take care of all your content marketing needs. Forget switching between 6 apps– from videos and graphics to writing and social media management, discover the ease of having everything you need in one place with Simplified
