Music can dramatically enhance the mood and impact of your videos. Whether you’re creating content for social media, a presentation, or a personal project, the right music can set the tone, evoke emotions, and make your video more engaging. However, adding and managing music in your videos can sometimes feel overwhelming, especially if you’re new to video editing.
Adobe Premiere Pro makes it straightforward to add and manage music, offering a range of tools that help you create a polished, professional final product. With its intuitive interface and powerful features, Premiere Pro allows you to easily import, edit, and sync your music to your video, ensuring that the audio complements your visuals perfectly. In this guide, we'll walk you through the step-by-step process of seamlessly adding music to your video using Premiere Pro. By the end, you’ll have the skills to enhance your videos with the perfect soundtrack, making them more dynamic and captivating for your audience.
Steps To Add Music To Video In Premiere Pro:
Step 1: Import Your Music
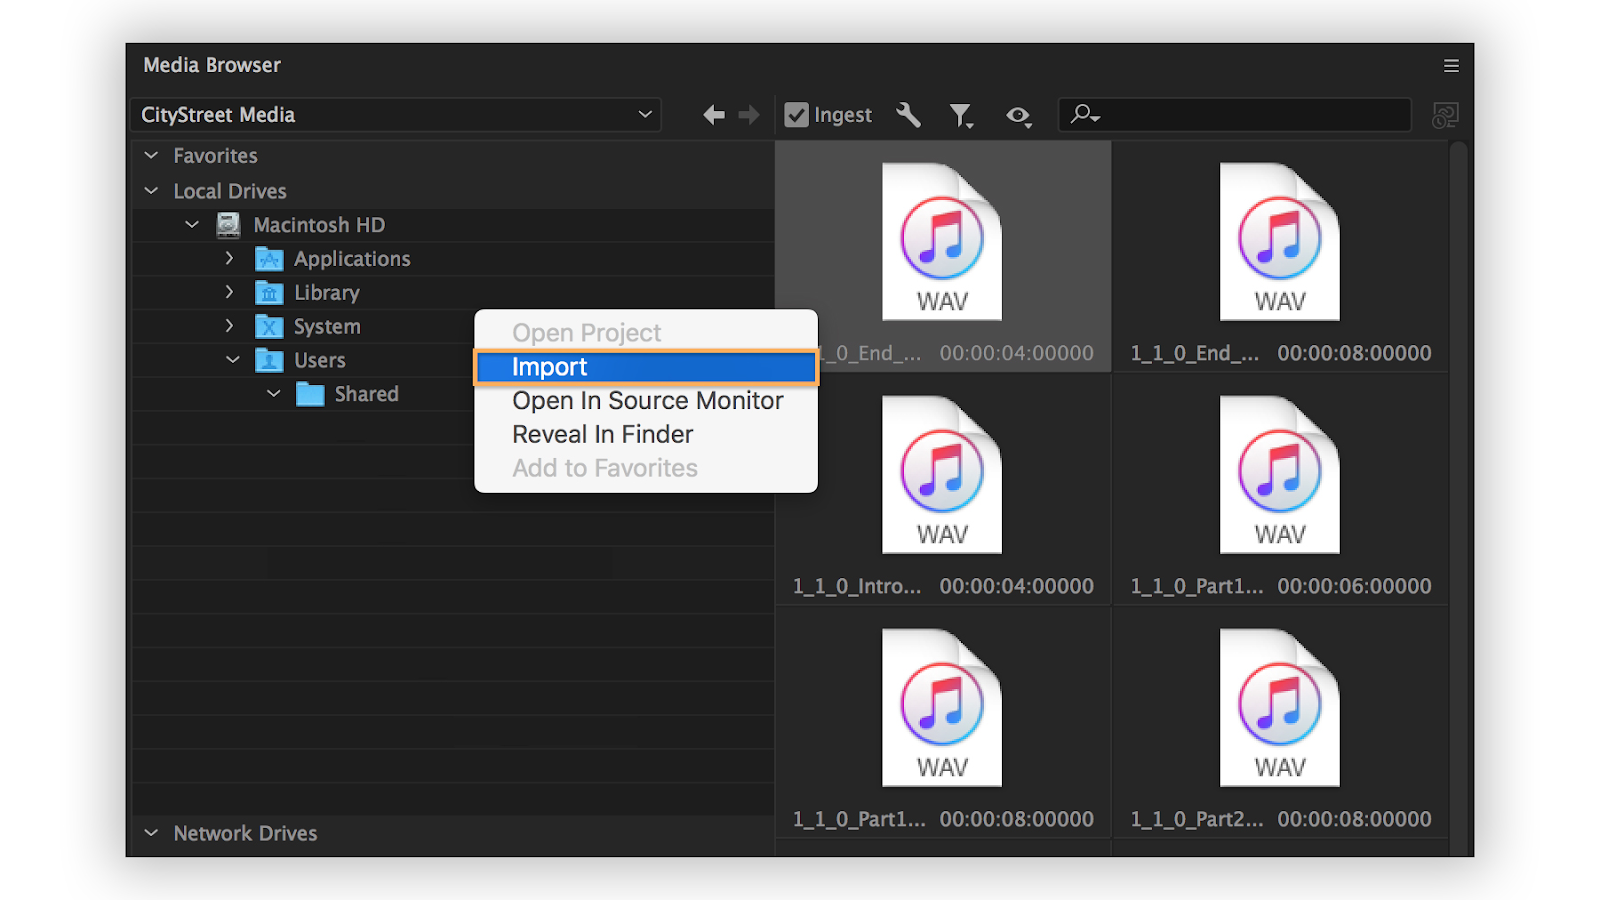
Open your project in Adobe Premiere Pro. To import your music file, go to the "File" menu, select "Import," or simply drag and drop your music file into the Project panel. Your music file will now appear in the Project panel.
Step 2: Add Music to the Timeline

Drag your imported music file from the Project panel to the timeline. Place it on an audio track beneath your video clips. If you don't see an available audio track, right-click in the timeline area and select "Add Tracks" to create a new audio track.
Step 3: Adjust the Music Length
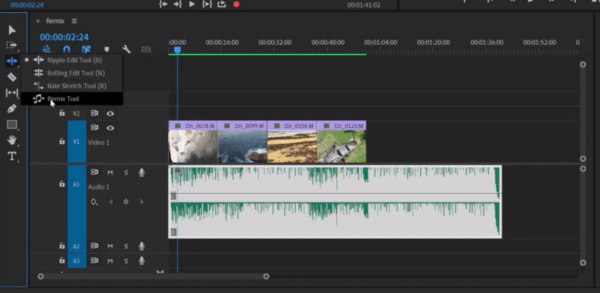
To match the music to the length of your video, drag the edges of the music clip to trim it. You can also use the razor tool (C) to cut the music clip at specific points and delete any unwanted sections.
Step 4: Adjust Audio Levels
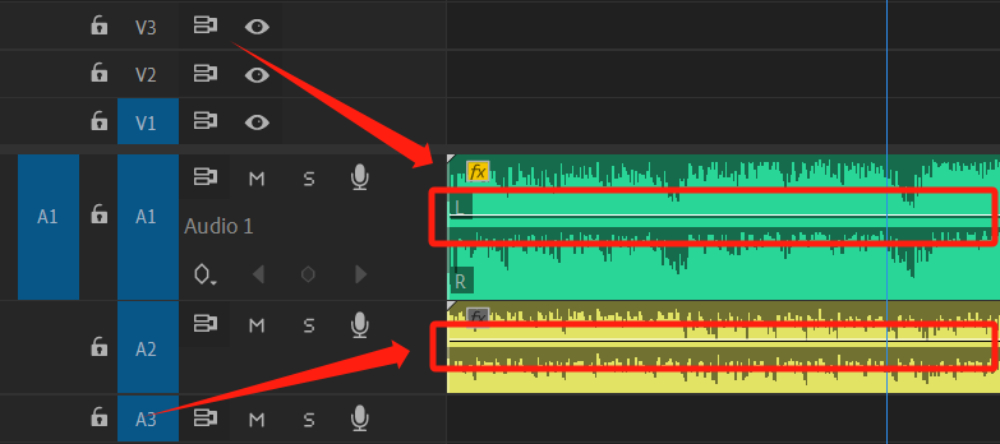
To ensure your music doesn't overpower your video's audio, adjust the volume levels. Click on the music clip in the timeline, then go to the "Effect Controls" panel. Under the "Volume" section, adjust the "Level" to increase or decrease the volume until you find the right balance.
Step 5: Add Fades and Effects
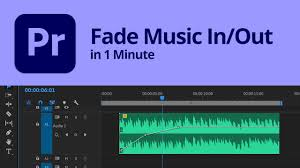
To make the music blend smoothly with your video, add fade-in and fade-out effects. Right-click on the beginning or end of the music clip, select "Apply Default Transitions" (such as "Constant Gain" or "Constant Power"), or manually add keyframes in the "Effect Controls" panel to create custom fade effects.
Step 6: Export Your Final Video
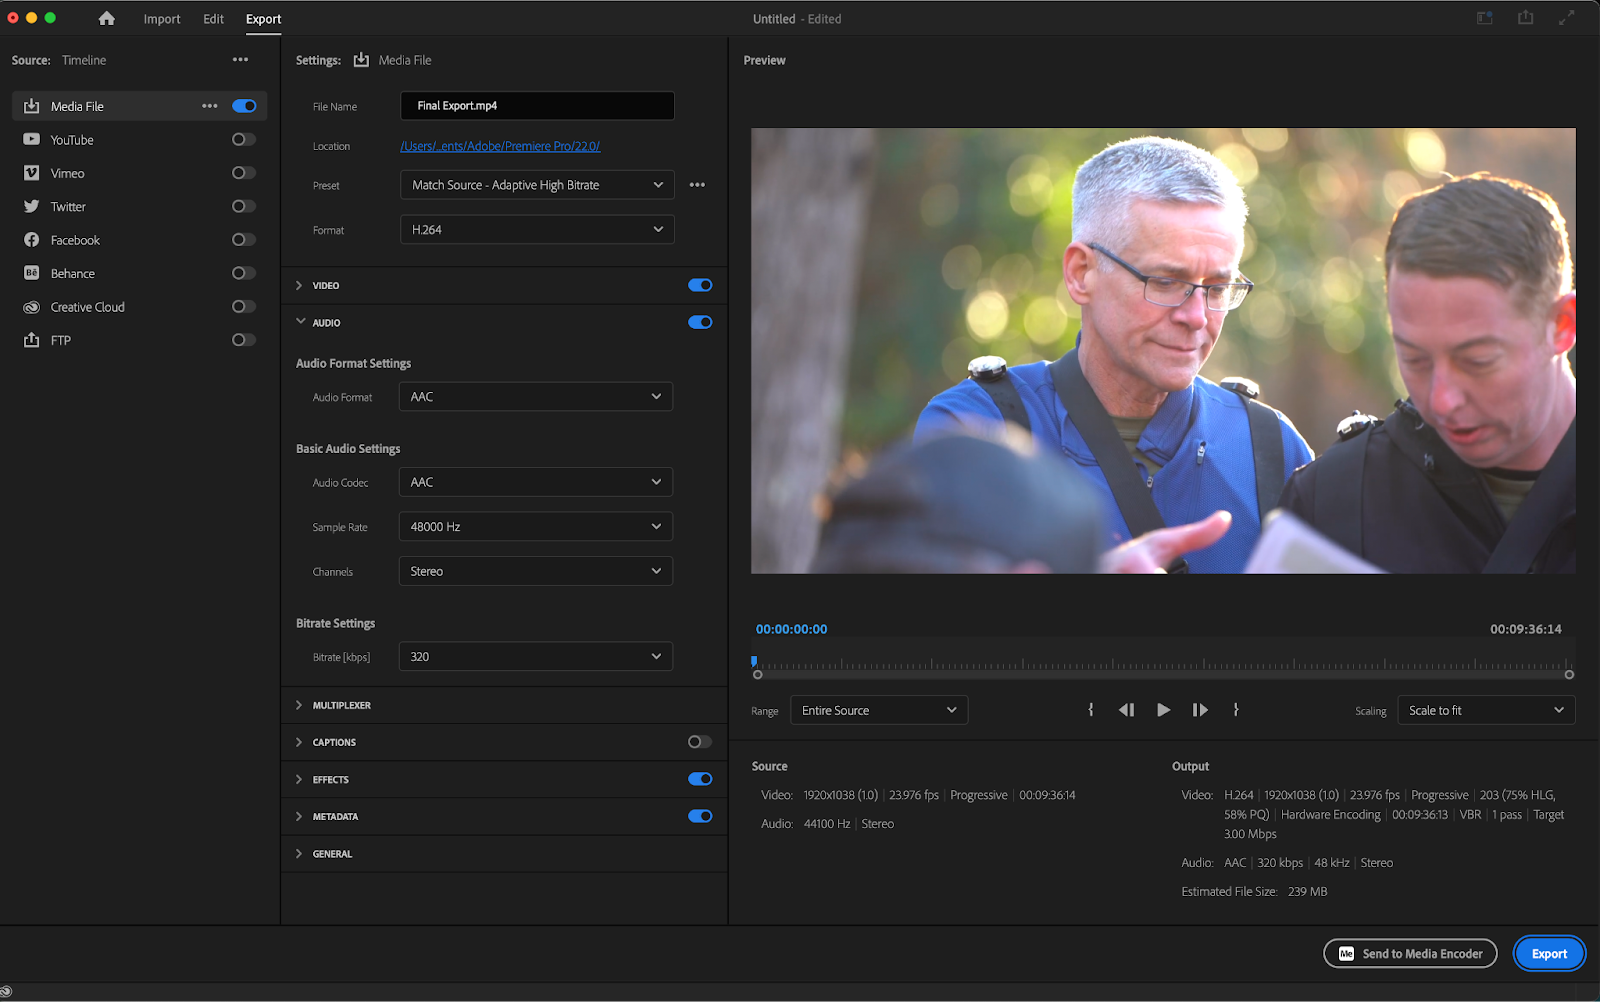
Once you're satisfied with your video and music integration, it's time to export. Go to the "File" menu, select "Export," and then "Media." Choose your desired export settings and click "Export" to save your video with the added music.
Simplified Video Editor: A Fresh Take on Video Editing

Need a more intuitive video editing tool? Simplified Video Editor might be just what you're looking for. It offers a user-friendly interface with powerful features designed to help you create stunning videos in no time. You can bring your creative vision to life with multi-track editing, advanced transitions, and AI-powered enhancements.
Besides a Video Editor, Simplified also offers an All-in-One, AI-powered App to enhance your productivity and take care of all your content marketing needs. Forget switching between 6 apps– from videos and graphics to writing and social media management, discover the ease of having everything you need in one place with Simplified
