
Creating a video with Adobe Premiere Pro may seem challenging initially, but with the right guidance, you'll discover it's a powerful tool that can turn your vision into reality. Whether you're working on a short film, a YouTube video, or a marketing piece, Adobe Premiere Pro offers the features and flexibility needed to produce high-quality videos. In this blog, we'll guide you through the essential steps to create a video in Adobe Premiere Pro, from importing your footage to exporting the final product.
Steps for Making a Video in Adobe Premiere Pro
Step 1: Set Up Your Project

Open Adobe Premiere Pro and click on "New Project." Name your project and choose the location where you want to save it. Adjust your project settings according to the specifications of your video, then click "OK" to create the project.
Step 2: Import Your Media
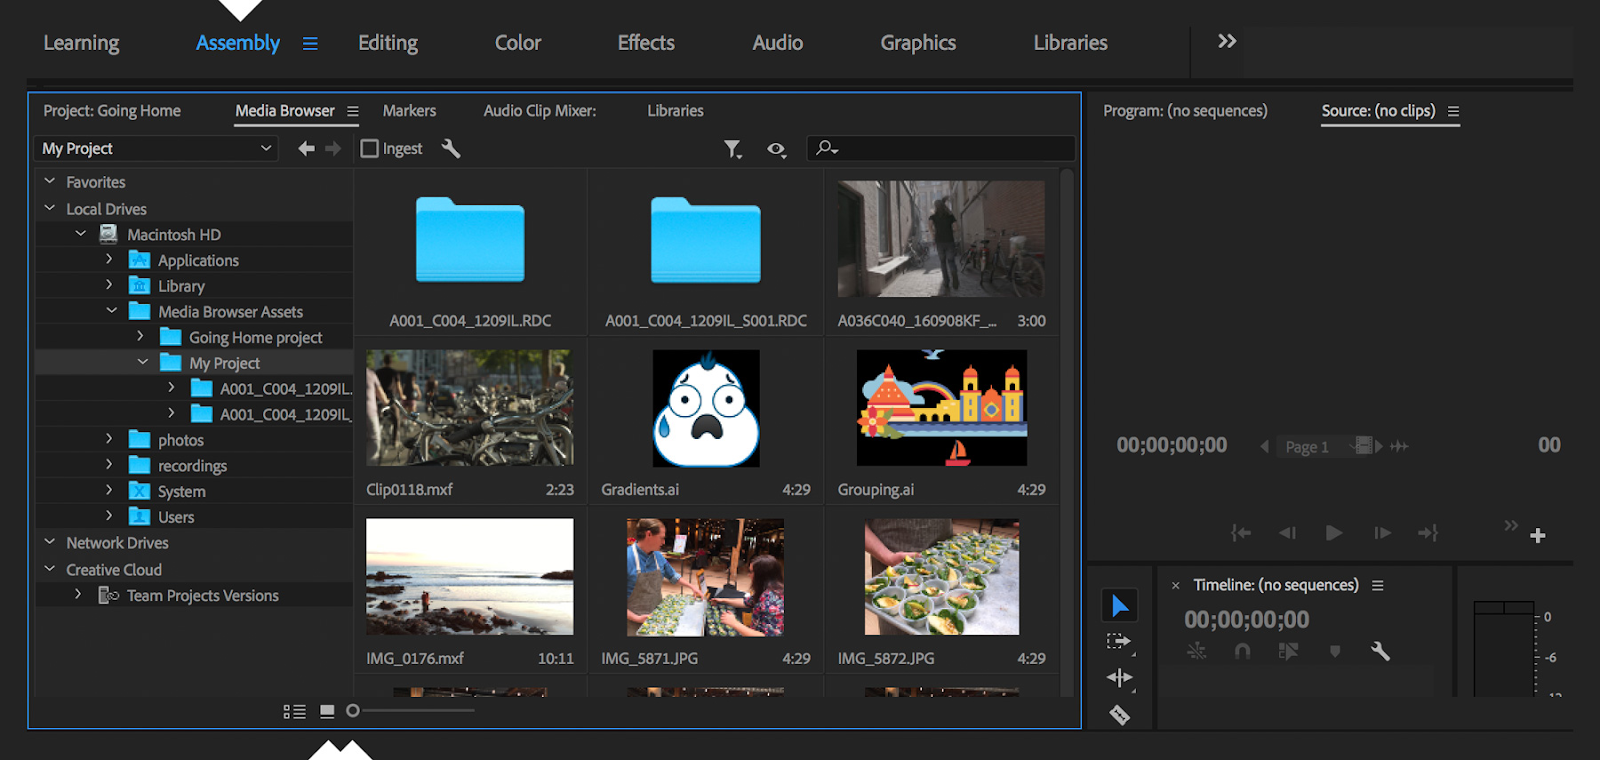
To start editing, you need to import your video files. Click on "File" > "Import" or simply drag and drop your media files into the Project panel. Organize your media by creating bins for different types of files like video clips, audio files, and images.
Step 3: Create a New Sequence
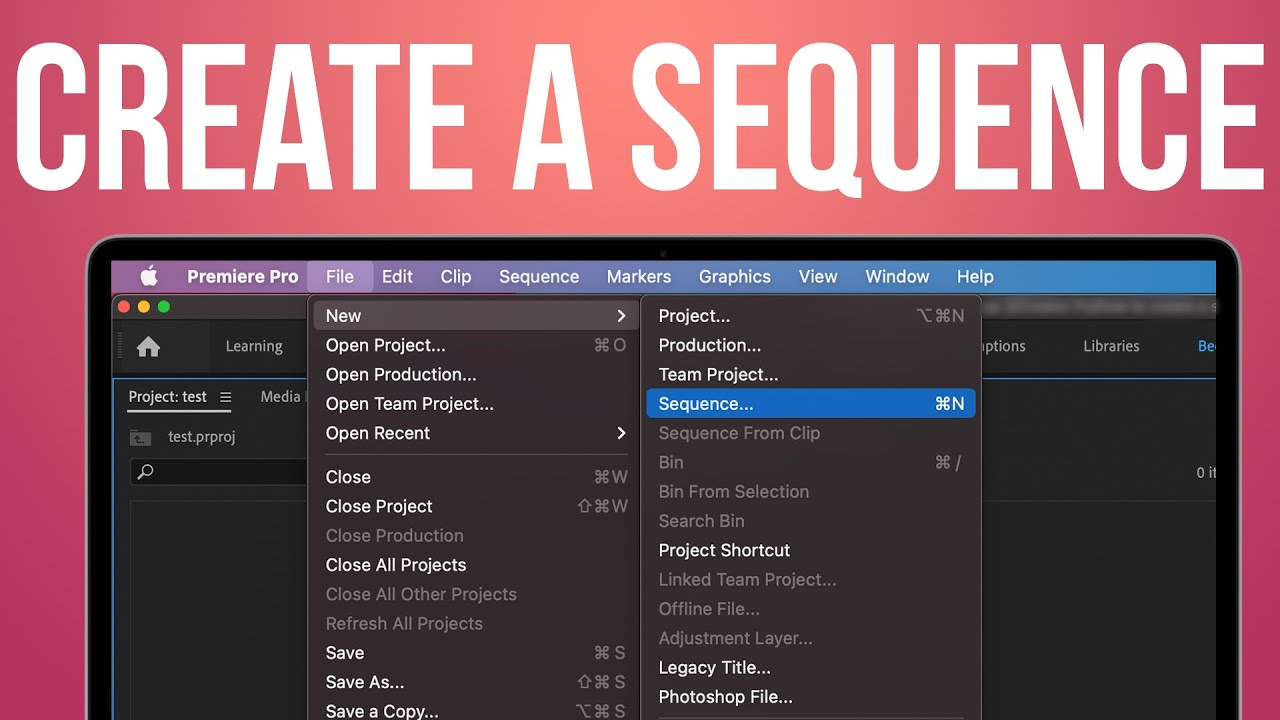
Right-click on your media files and select "New Sequence from Clip." This will create a new sequence that matches the settings of your video clip. Alternatively, you can create a sequence manually by clicking on "File" > "New" > "Sequence" and choosing your desired settings.
Step 4: Edit Your Video
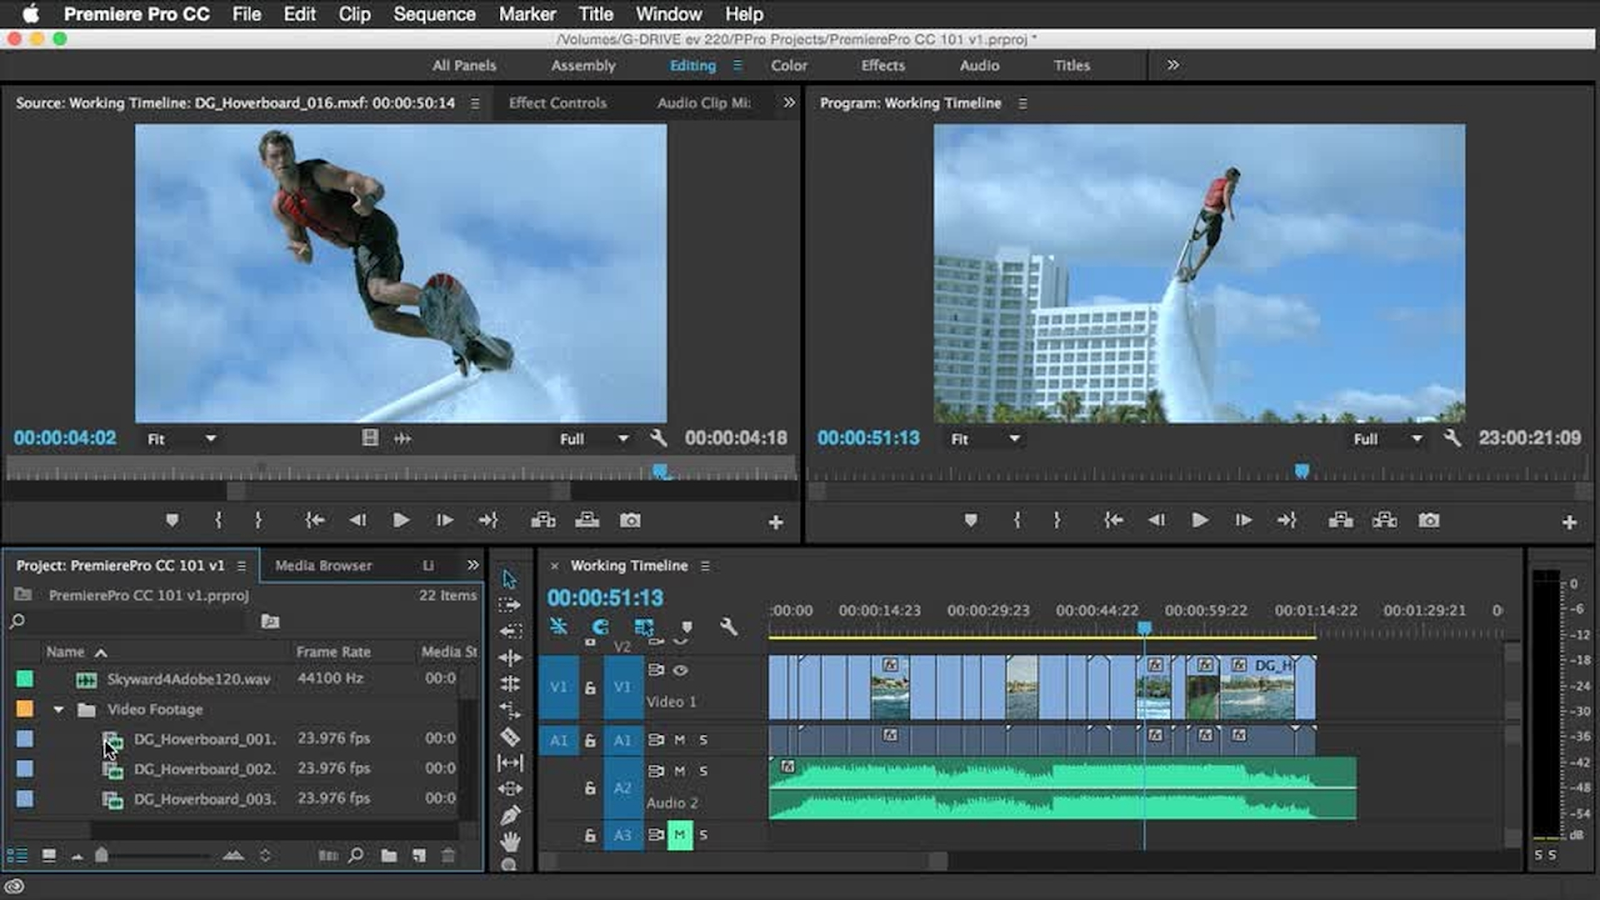
Drag your media files onto the timeline. Use the tools in the toolbar to cut, trim, and rearrange your clips. Add transitions by dragging them from the "Effects" panel to the desired spot between clips. Enhance your video with effects, color correction, and audio adjustments.
Step 5: Add Titles and Graphics
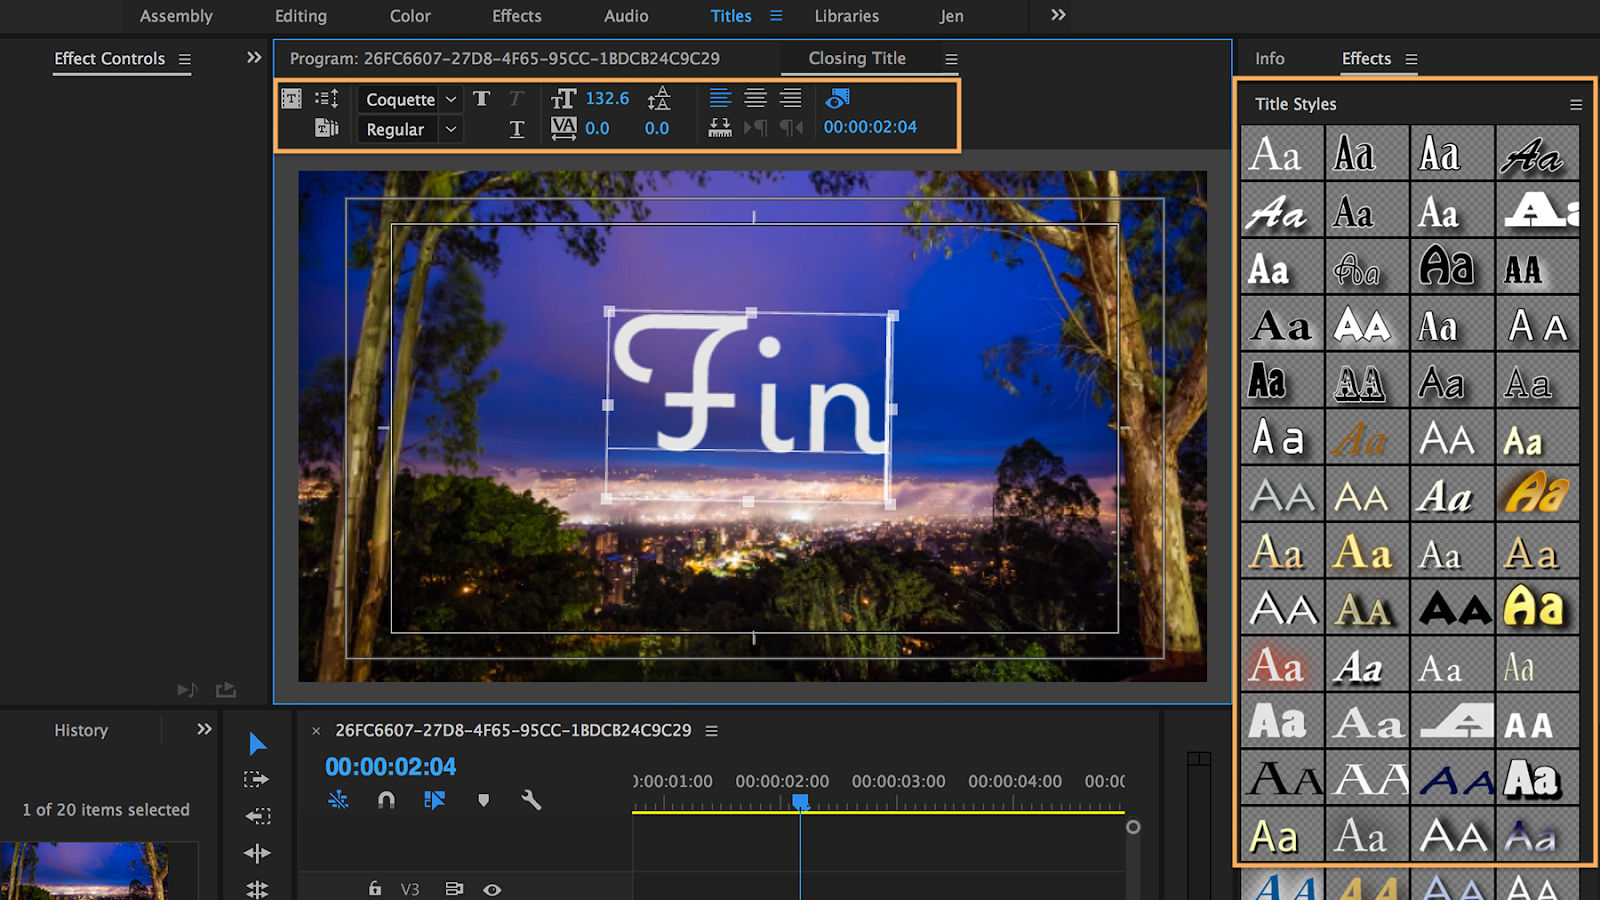
To add titles, go to the "Graphics" workspace and use the "Type Tool" to create text. Customize your titles with different fonts, sizes, and colors. You can also use pre-designed templates available in Adobe Premiere Pro for professional-looking titles and graphics.
Step 6: Export Your Final Video
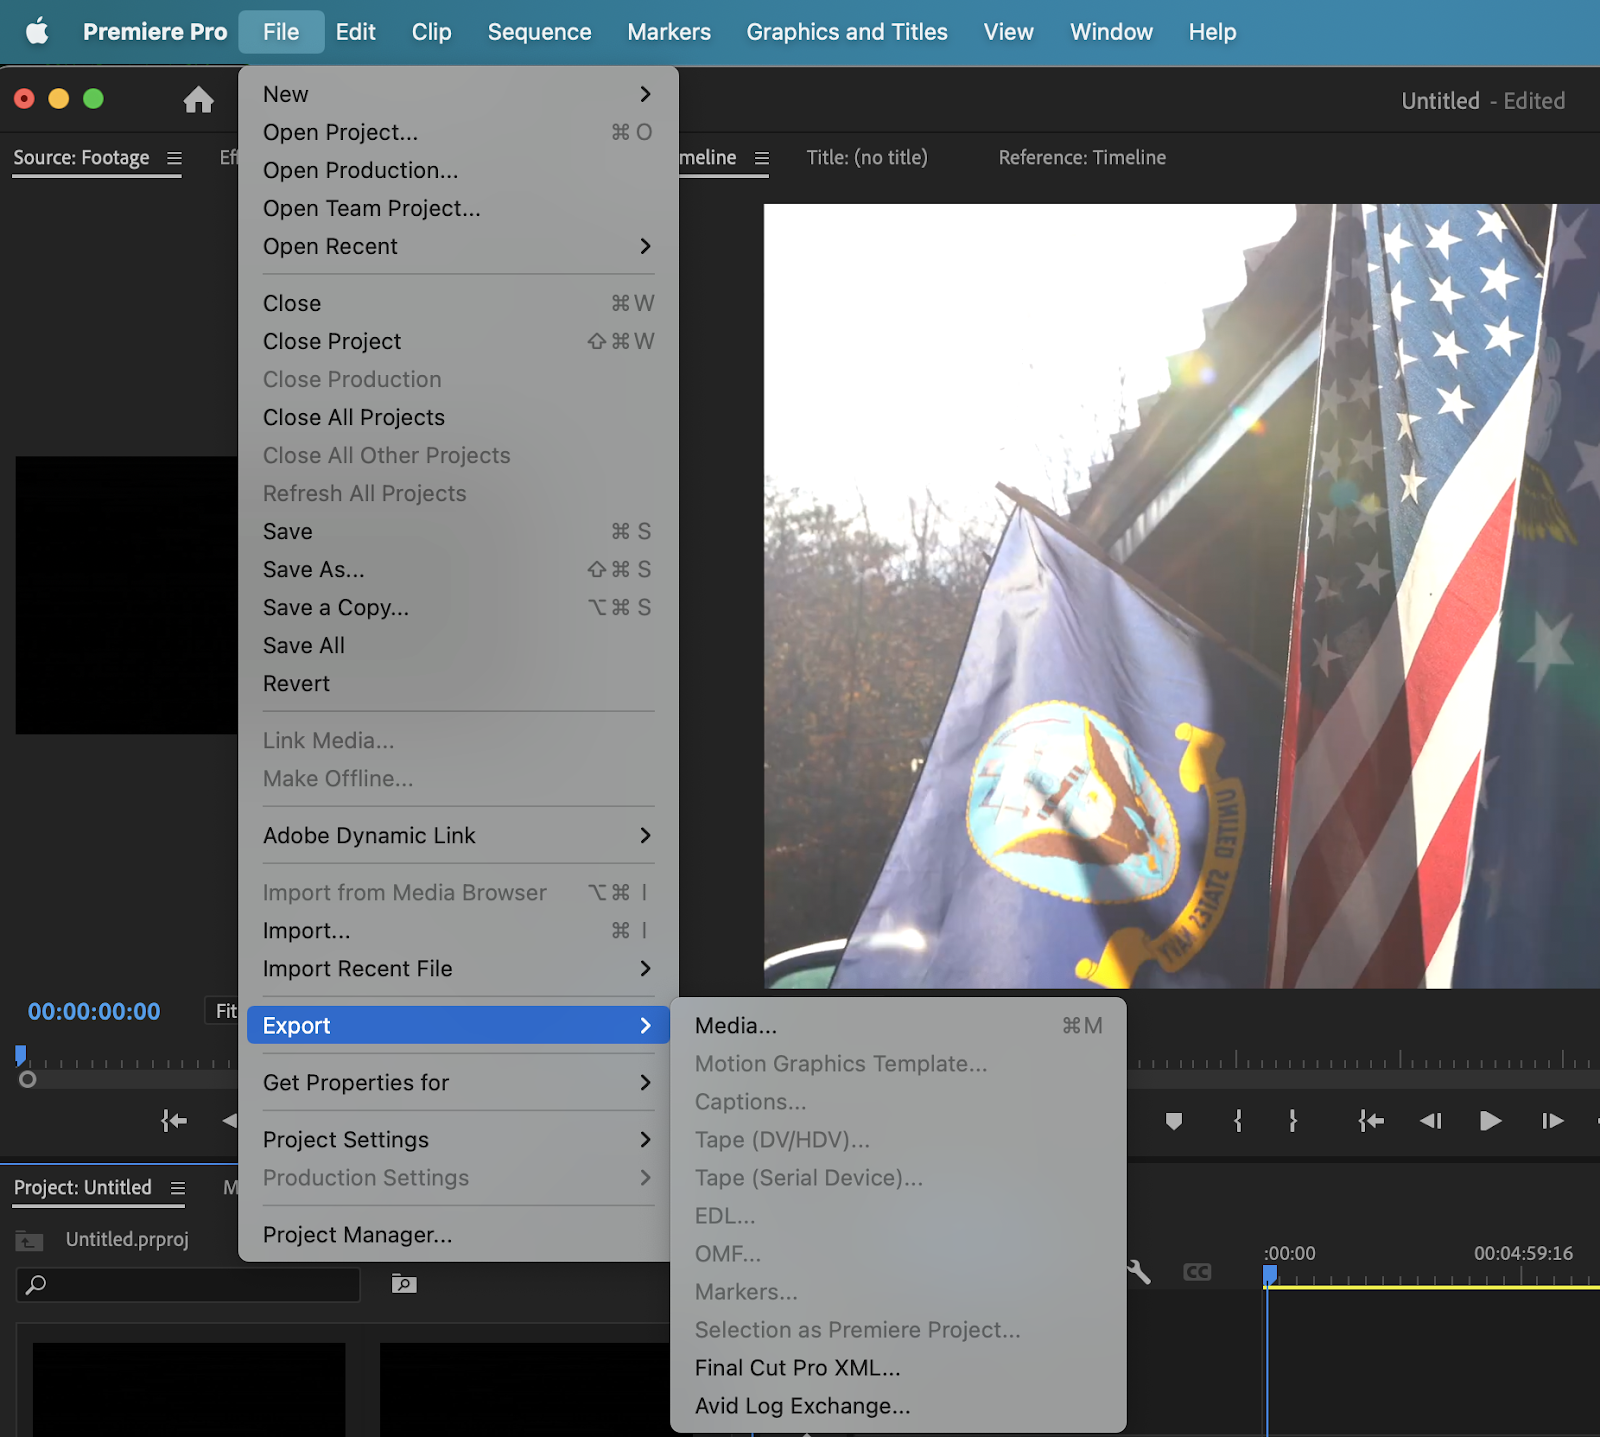
Once you’re satisfied with your edits, it’s time to export your video. Click on "File" > "Export" > "Media." Choose the desired format and settings for your video. Adobe Premiere Pro offers presets for various platforms like YouTube, Vimeo, and social media. Click "Export" to render and save your video.
Meet the Simplified AI Video Generator

Looking for another tool to create videos with minimal effort and maximum creativity? Simplified AI Video Generator. Simplified offers an intuitive platform powered by AI, making video creation quicker and easier. With features like automatic scene detection, smart editing suggestions, and a vast library of templates, you can produce stunning videos without the steep learning curve.
Moreover, Simplified also offers the All-in-One app, AI-powered to enhance your productivity and take care of all your content marketing needs. Forget switching between 6 apps– from videos and graphics to writing and social media management, discover the ease of having everything you need in one place with Simplified