How to Create a Carousel Post on Facebook Using Taplio
Aug 20, 2024
1 min

Creating a carousel post on Facebook can significantly boost engagement by allowing you to share multiple images or videos in a single, swipeable post. Taplio is a versatile platform that simplifies this process, providing tools for designing and scheduling carousel posts to enhance your social media presence. This guide will walk you through each step to create an effective carousel post using Taplio.
How to Create a Carousel Post on Facebook: How to Steps
1. Log In to Taplio
Open your browser and go to Taplio’s website. Click on "Log In" and enter your credentials (email and password) to access your Taplio account. If you don’t have an account, you’ll need to sign up first.
2. Navigate to Content Creation
Once logged in, you will land on the main dashboard. Look for the option labeled "Create Post" or "Content Creation" in the navigation menu. Click on this option to start creating your new post.
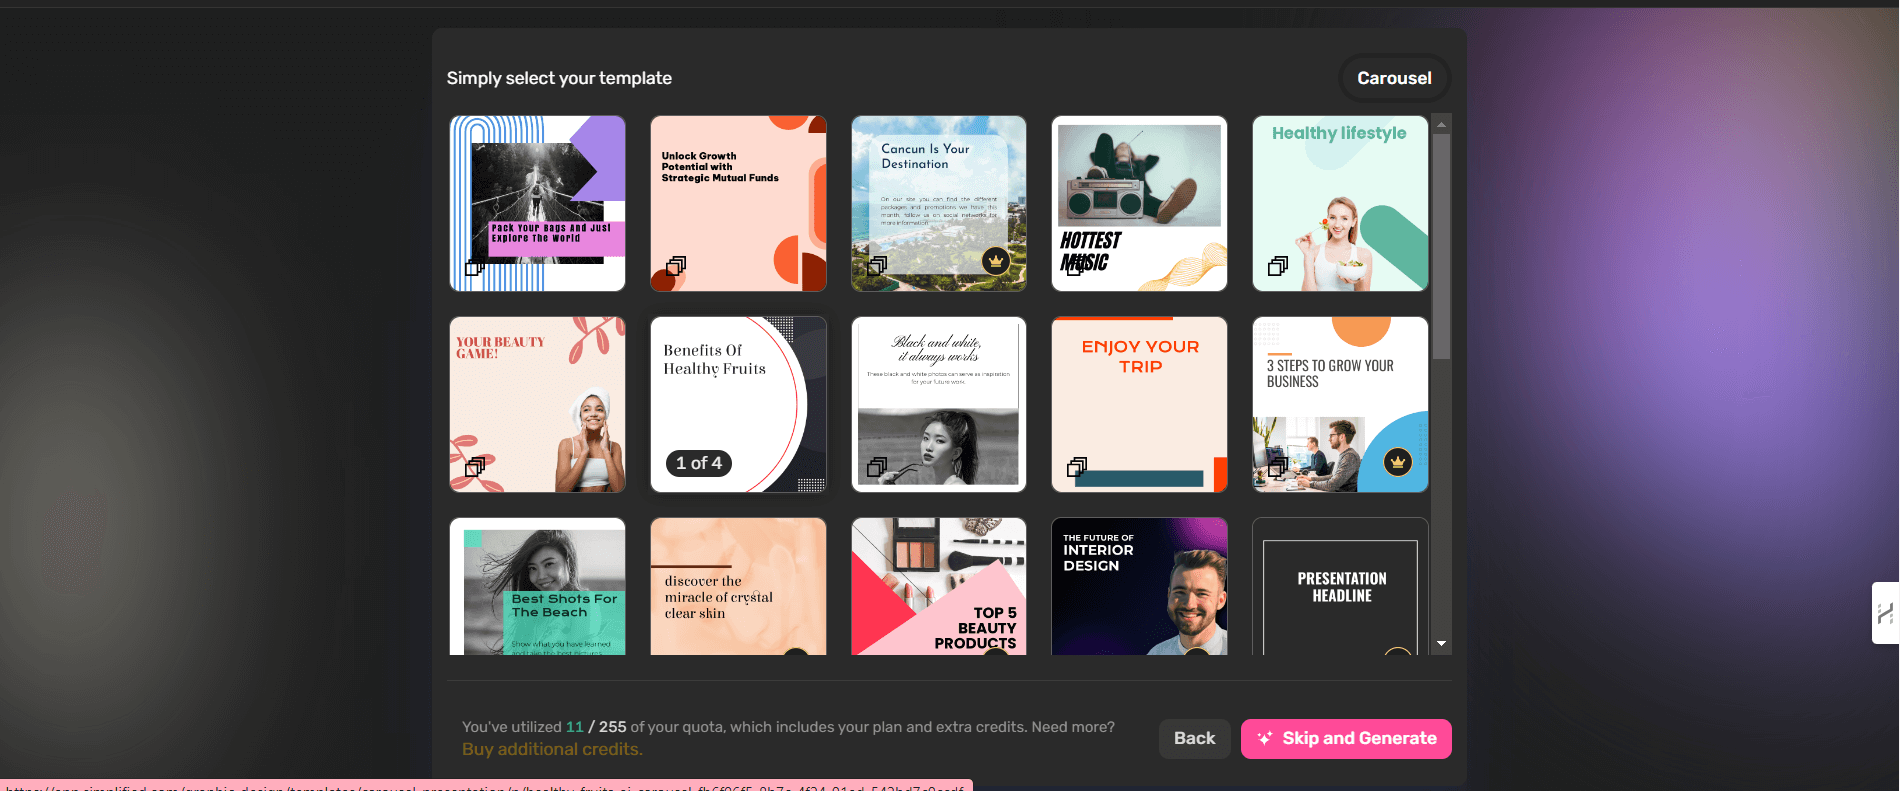
3. Select Carousel Format
In the content creation section, you will see various post formats. Select the "Carousel" format from the options provided. This format allows you to add multiple images or videos that users can swipe through.
4. Upload Media
Click on the "Upload" button or drag and drop your images or videos into the designated area. You can upload multiple files at once, ensuring they are in the correct order. Supported file formats usually include JPEG, PNG, and MP4.
5. Arrange and Edit Slides
Once uploaded, you can drag and drop the slides to rearrange them if necessary. Taplio may offer editing tools for each slide, such as cropping, rotating, or adjusting brightness and contrast. Use these tools to ensure each slide looks its best.
6. Add Captions and Links
For each slide, write a compelling caption that complements the visual content. Taplio allows you to add captions directly under each image or video. You can also insert links or tags where relevant to enhance the post’s engagement.
7. Preview Your Post
Before finalizing, preview your carousel post to see how it will appear on Facebook. This step helps you catch any errors or adjustments needed. Ensure that all images or videos are displayed correctly and captions are clear.
8. Schedule or Publish
Decide whether you want to schedule the post for a future date or publish it immediately. If scheduling, select "Schedule" and choose the desired date and time from the calendar interface. Confirm your selections to set up the post.
9. Confirm and Save
Click "Save" or "Schedule" to confirm your choices and finalize the carousel post. Your post will now be added to the scheduled queue or published on your Facebook page as specified.
Explore Simplified AI Carousel Generator
If you’re looking for a versatile alternative to Taplio for creating carousel posts, consider Simplified. Simplified offers an AI carousel generator that simplifies the creation process. Additionally, Simplified provides tools for crafting engaging Facebook posts and managing your content strategy expertly .
Additionally, Simplified also offers the All-in-One, AI-powered App to enhance your productivity and take care of all your content marketing needs. Forget switching between 6 apps– from videos and graphics to writing and social media management, discover the ease of having everything you need in one place with Simplified